---
title: Get started with the Tealium Developer Portal
description: Create an application, subscribe to a Tealium API, obtain an access token, and make your first authenticated API call.
url: https://docs.tealium.com/administration/early-access/developer-portal/dev-portal-getting-started/
---
This tutorial walks through the complete setup flow, from signing in to making your first authenticated API call. Before starting, read [About the Tealium Developer Portal](https://docs.tealium.com/dev-portal-about/) to understand how applications, subscriptions, scopes, and tokens relate to each other.
## Sign in
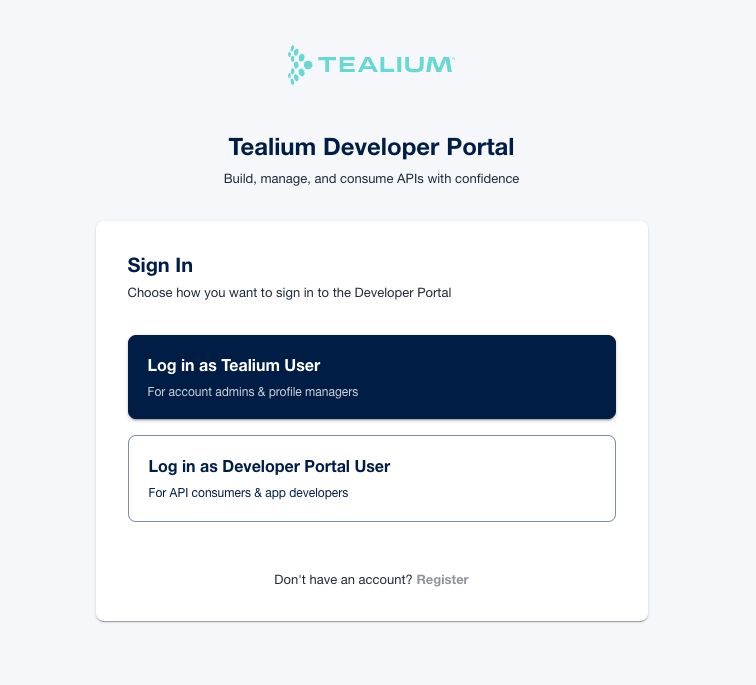
Go to [app.tealiumapis.com](https://app.tealiumapis.com/) and select the login method that matches your account type:
* **Log in as Tealium User:** For users with an existing Tealium account. Uses Tealium SSO or password authentication.
* **Log in as Developer Portal User:** For external developers who do not have a Tealium account. If you do not have a Developer Portal user account, go to `/register` to sign up with your first name, last name, and email address.
During Early Access, self-service registration may be disabled. If you see "Registration Unavailable," contact Tealium to request access.
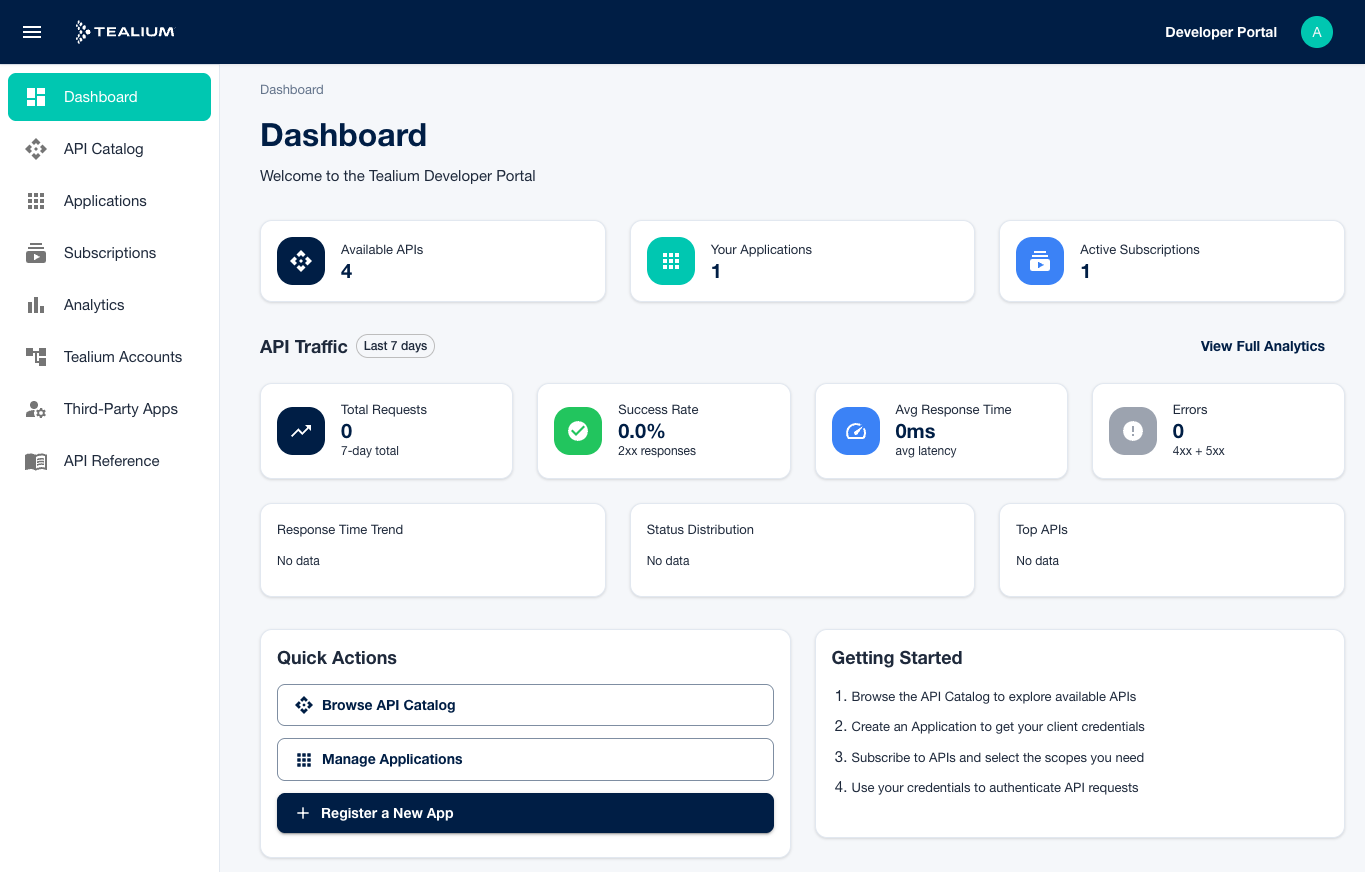
After authenticating, you are redirected to the dashboard. The dashboard shows a summary of available APIs, your applications, active subscriptions, and recent API traffic.
## Step 1: Browse the API catalog
Before creating an application, browse the API catalog to identify which APIs you need.
Click **API Catalog** in the left sidebar, or click **Browse API Catalog** from the Dashboard.
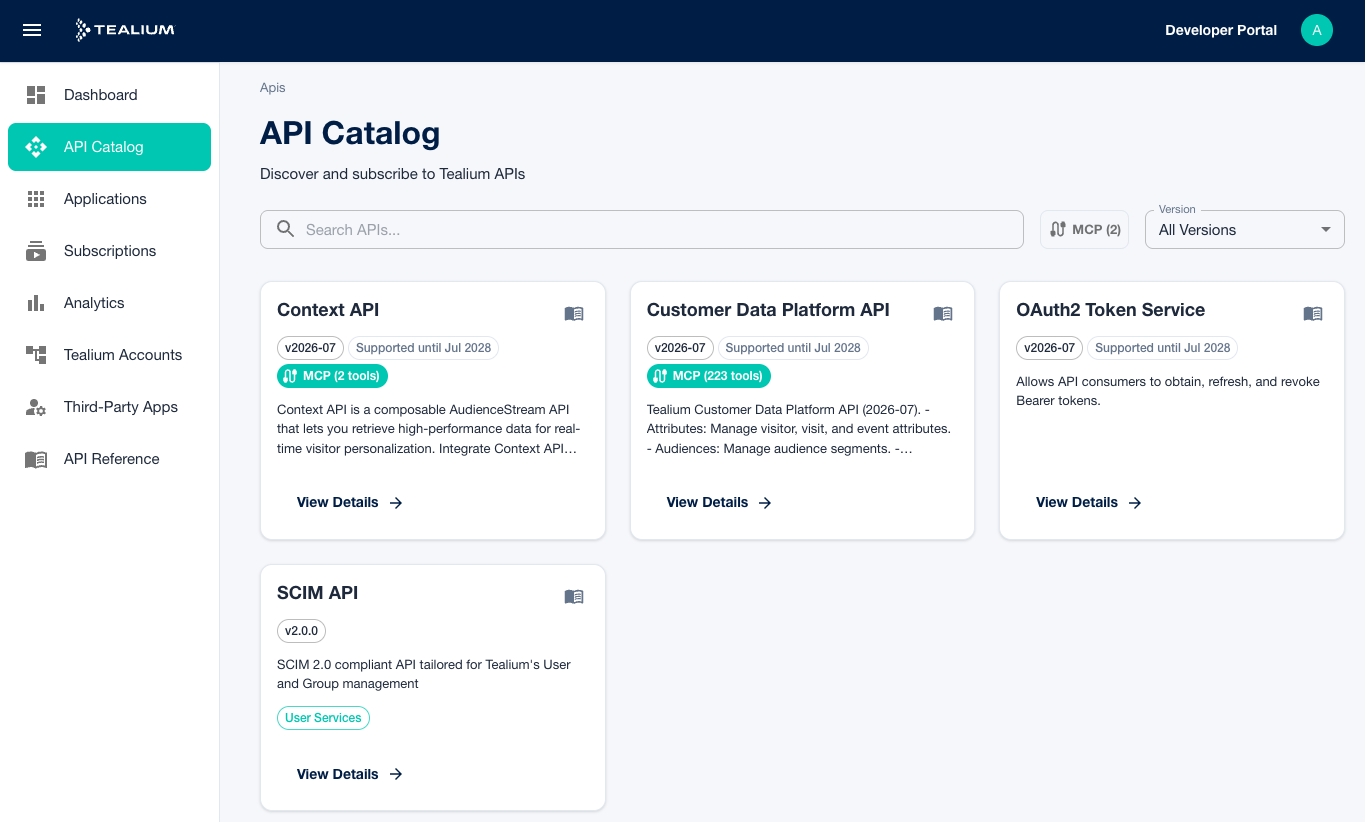
The catalog displays each API as a card showing its name, version, support end date, and a brief description. APIs that support the Model Context Protocol (MCP) display an MCP badge.
Use the search box to filter by name or description. Use the **All Versions** dropdown to filter by version, or the **MCP** toggle to show only MCP-enabled APIs.
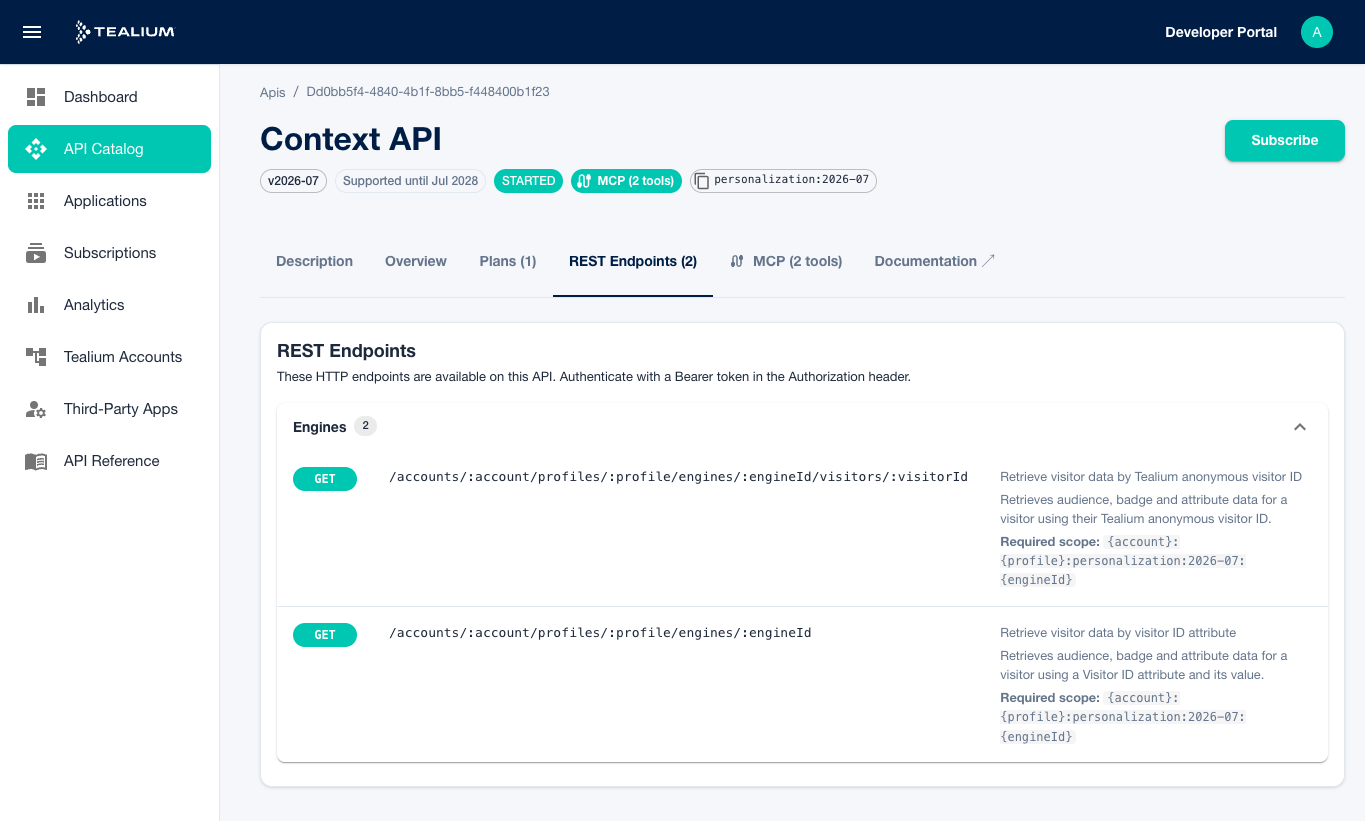
Click any API card to open its detail page. The detail page is organized into tabs:
* **Description:** API description and overview.
* **Overview:** Version, status, and owner information.
* **Plans:** Available subscription plans and their security types.
* **REST Endpoints:** All endpoints, grouped by resource. Expand a group to view individual operations.
* **MCP:** Available MCP tools with parameters and expected behavior.
* **Documentation:** Links to the API reference documentation.
For more information, see [API catalog](https://docs.tealium.com/dev-portal-api-catalog/).
## Step 2: Create an application and subscribe
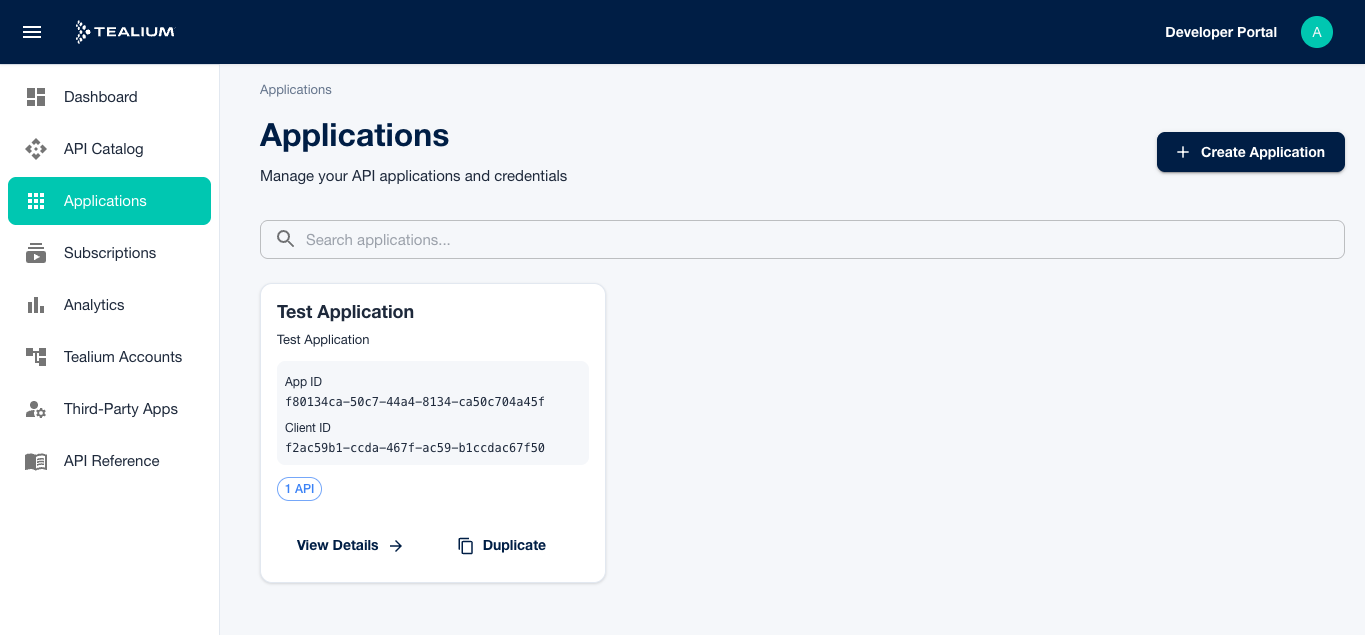
1. Click **Applications** in the left sidebar, then click **Create Application**.
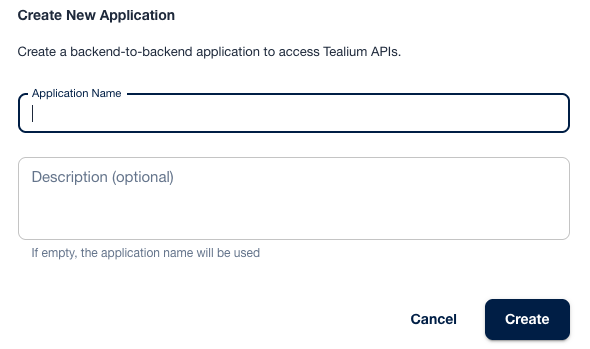
1. Enter a name and optional description for your application. Choose a name that reflects what this integration does, for example, `Analytics Dashboard` or `Data Pipeline`. Click **Create**.
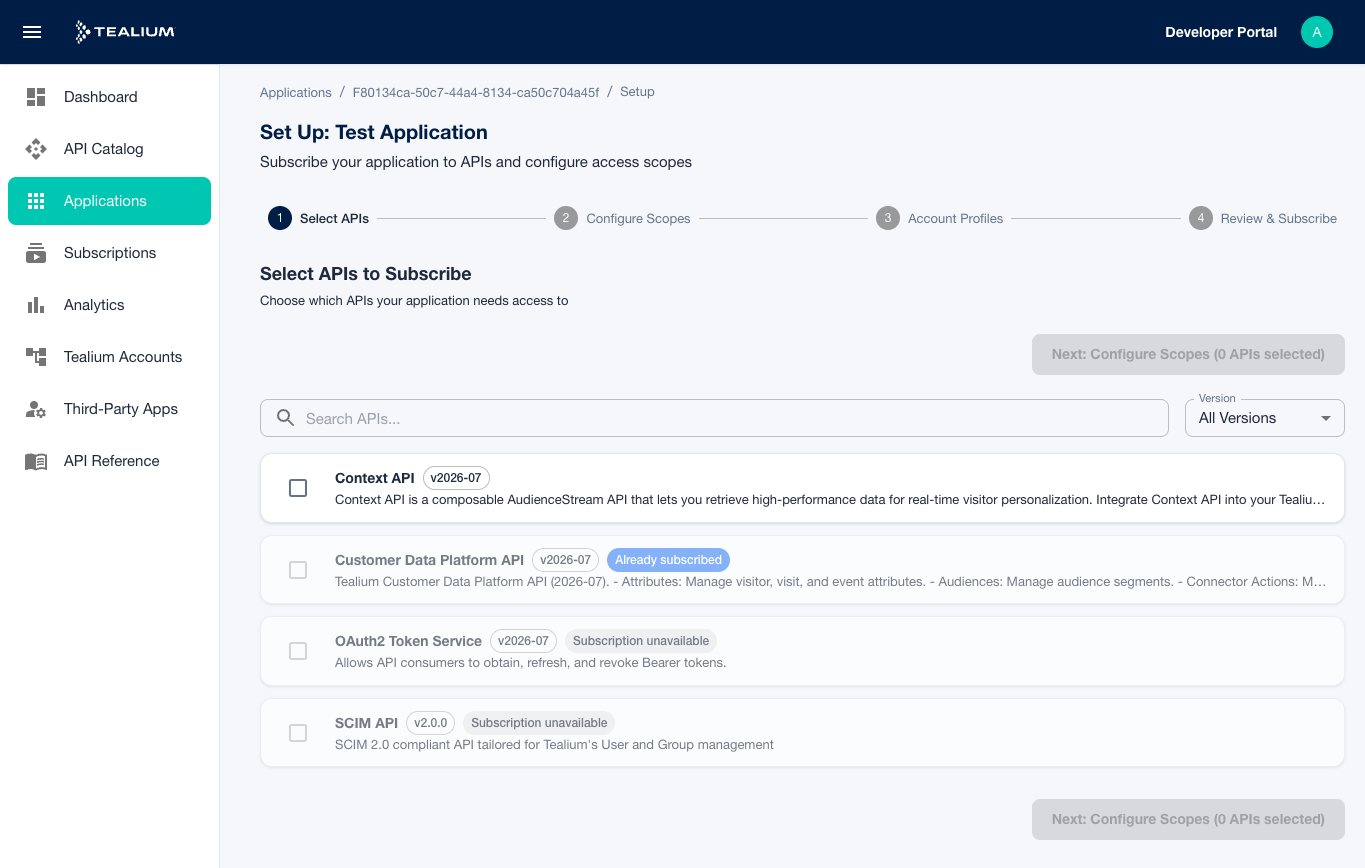
1. In the subscription wizard, select the APIs you want to subscribe to and click **Next: Configure Scopes**.
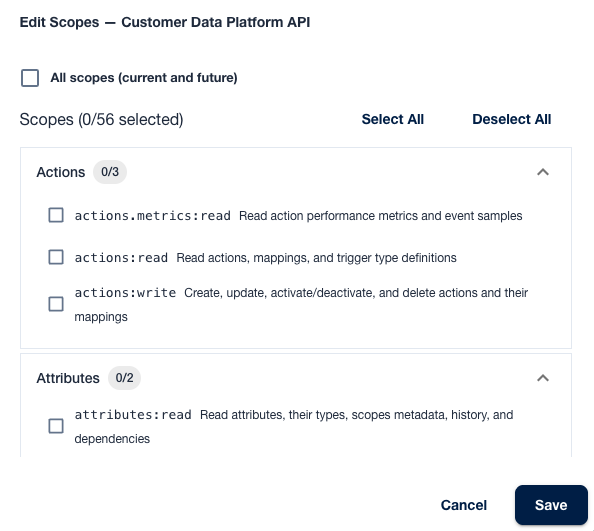
1. Expand each API section to view available scopes. Check the resource and action pairs your application needs. Request only the scopes required for your integration.
1. If you are logged in as a Tealium user, an **Account Profiles** step appears. Select the Tealium accounts and profiles this subscription covers. The portal only shows profiles you have publish permission for. Click **Next: Select Engines** or **Next: Review**.
External developers skip the account profiles and engine steps because they have no Tealium accounts of their own. Access to Tealium customer resources is granted by the resource owner. See [Third-party app access](https://docs.tealium.com/dev-portal-third-party-app-access/).
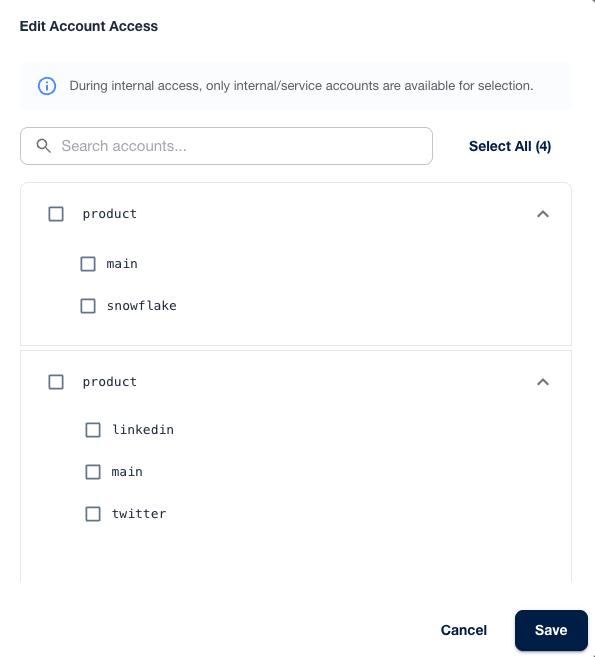
1. If you selected an API that requires engine access, such as the Context API, a **Select Engines** step appears. Engines are grouped by account and profile. Choose specific engines, or select **All engines (current and future)** to automatically include engines created later. Disabled engines can still be selected for future use. You can skip this step and configure engine access later.
1. Review your configuration and click **Create Subscription**.
1. Click **View Application** to go to your new application's detail page.
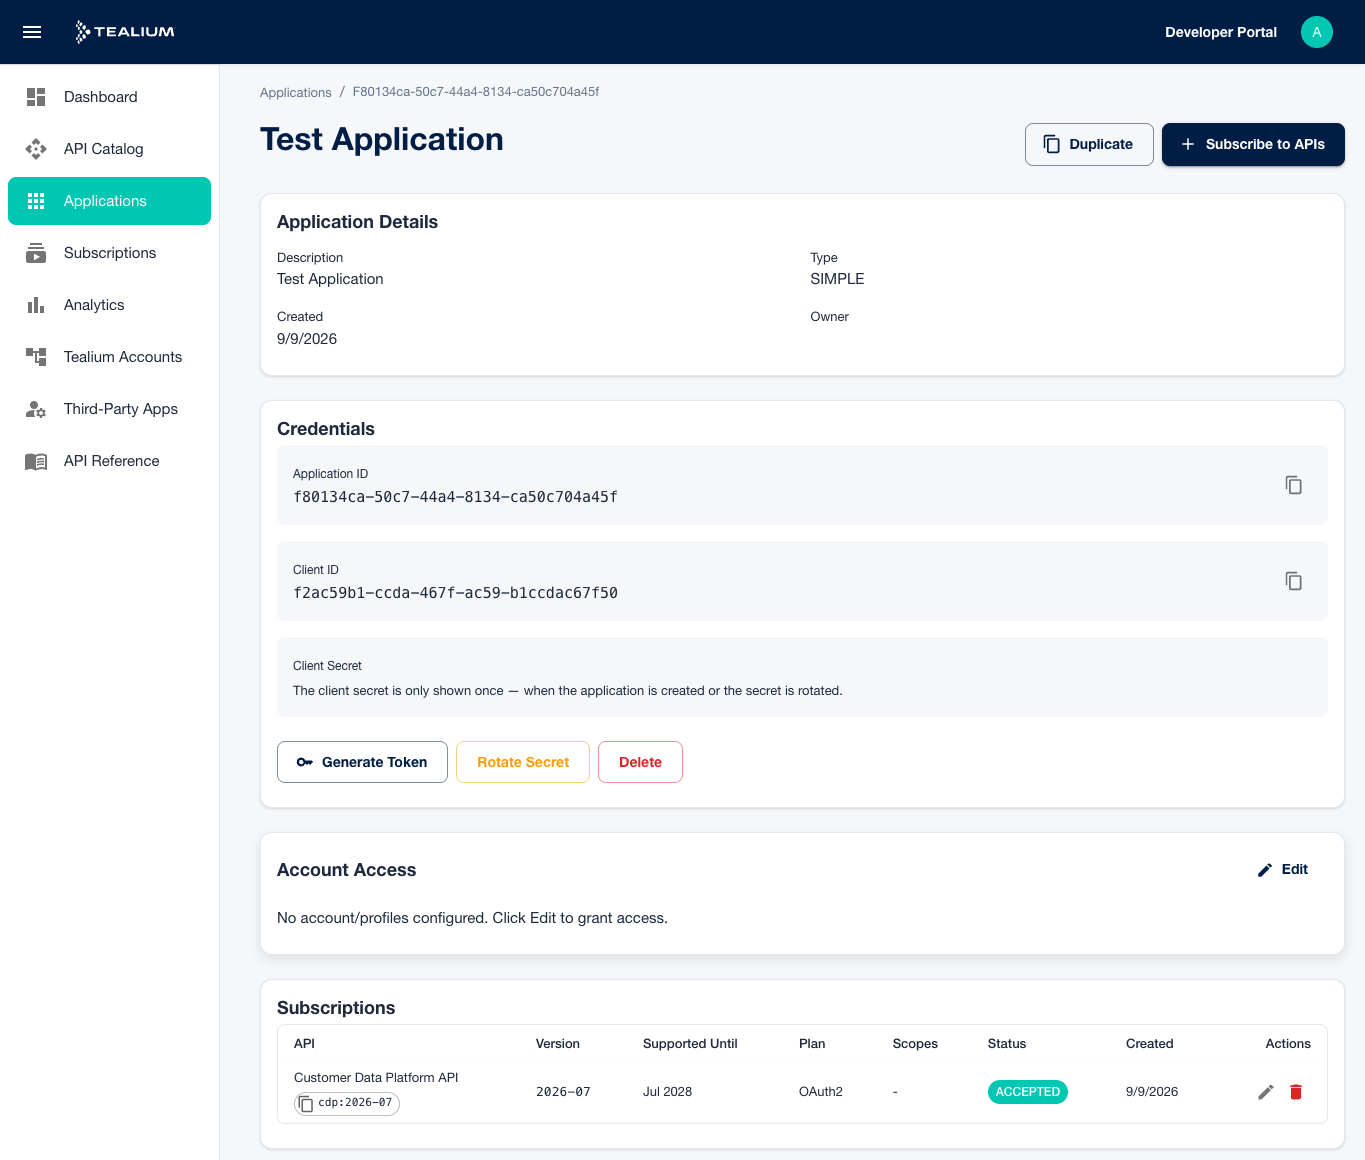
For more information, see [Applications](https://docs.tealium.com/dev-portal-applications/).
If you are an external developer who needs access to a Tealium customer's accounts and profiles:
1. Share your **Application ID** with your Tealium contact.
1. The Tealium user grants your application access to their accounts, profiles, and engines from the [Third-party app access](https://docs.tealium.com/dev-portal-third-party-app-access/) page.
1. After access is granted, your tokens include scopes for those resources.
### Save your credentials
Your application detail page shows your **Client ID** and your **Application ID**. Copy your client secret from the confirmation screen that appears immediately after creation. After you leave that screen, the secret is no longer shown.
Copy your client secret before navigating away. Store it in a secrets manager or environment variable. Never commit credentials to source control. If you did not save it, use **Rotate Secret** to generate a new one. The old secret is invalidated immediately.
## Step 3: Request an access token
Generate an access token from the applications screen or by using your client ID and client secret to request a bearer token from the token endpoint. Tealium APIs use the OAuth2 Client Credentials grant.
Scopes use the format `{account}:{profile}:{apiFamily}:{apiVersion}:{resource}:{action}`. For details, see [Scopes](https://docs.tealium.com/dev-portal-scopes/).
```bash
curl -X POST \
https://api.tealiumapis.com/oauth/token \
-u '{client_id}:{client_secret}' \
-H 'Content-Type: application/x-www-form-urlencoded' \
-d 'grant_type=client_credentials' \
-d 'scope={space-separated-scopes}'
```
For example:
```bash
curl -X POST \
https://api.tealiumapis.com/oauth/token \
-u 'a1b2c3d4e5f6:s3cr3tk3y' \
-H 'Content-Type: application/x-www-form-urlencoded' \
-d 'grant_type=client_credentials' \
-d 'scope=acme-corp:main:cdp-api:2026-07:audiences:read acme-corp:main:cdp-api:2026-07:labels:read'
```
A successful response returns a JSON object:
```json
{
"access_token": "eyJhbGciOiJSUzI1NiIsInR5cCI6IkpXVCJ9...",
"token_type": "Bearer",
"expires_in": 7200,
"scope": "my-account:main:cdp-api:2026-07:audiences:read my-account:main:cdp-api:2026-07:labels:read"
}
```
The `access_token` value is your bearer token. It expires after 7200 seconds (two hours). Cache it and reuse it for subsequent requests. Requesting a new token on every API call triggers throttling.
For more information, see [Authentication](https://docs.tealium.com/dev-portal-authentication/).
## Step 4: Make an API call
Include the access token in the `Authorization` header of each request:
```bash
curl -X GET \
https://api.tealiumapis.com/{version}/{api}/{api-endpoint} \
-H 'Authorization: Bearer {access_token}' \
-H 'Accept: application/json'
```
A successful response returns a `2xx` status code with your data. If the request fails, see [Error responses](https://docs.tealium.com/dev-portal-authentication/#error-responses) for a full list of error codes and resolutions.
### Test from the Developer Portal
You can also test API calls directly from the Developer Portal without writing any code.
1. Go to **API Reference** in the left sidebar and open an API.
1. Expand an action and select an endpoint.
1. Click the **⋮** icon in the bottom-right corner of the screen, then click the **Bearer Token** key icon.
1. Select your application from the dropdown and click **Generate Token**.
1. Click **Copy Token** and close the dialog.
1. Paste the token into the **Token** field in the action screen, fill in any required parameters, and click **Send API Request**.
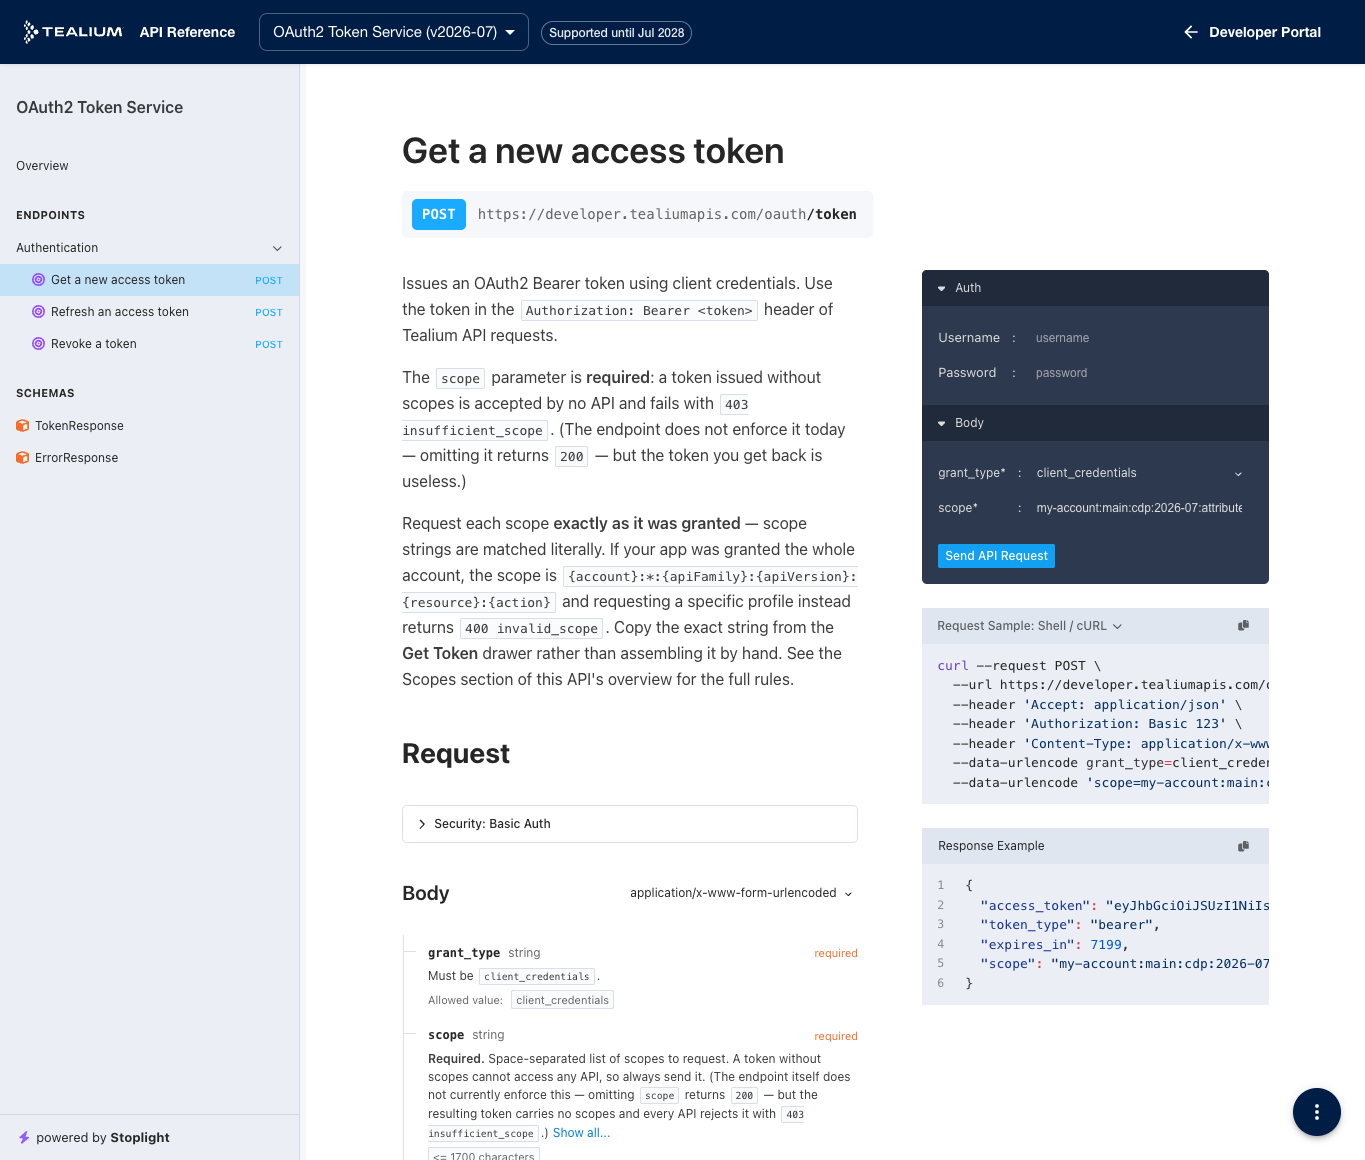
For more information, see [Generate a bearer token from the API reference](https://docs.tealium.com/dev-portal-api-reference/#generate-a-bearer-token-from-the-api-reference).