---
title: How utag.sync.js works
description: This article explains how to use utag.sync.js to implement A/B testing and multivariate tags.
url: https://docs.tealium.com/iq-tag-management/getting-started/install/utag-sync/
---
## Prerequisites
To complete the steps described in this article, you must have the following permissions:
* **Manage Tag Templates**
This permission is required to add and manage tag templates.
* **JavaScript Draft Promotion**
This permission is required to publish JavaScript extensions.
## How it works
Before you begin, it is important to learn the differences between synchronous (sync) and asynchronous (async) JavaScript and how it relates to your iQ Tag Management installation. ([Learn more](https://support.tealiumiq.com/en/support/solutions/articles/36000363409-synchronous-vs-asynchronous-javascript-sync-vs-async-)).
The `utag.sync.js` script described in this article is an additional file that you can add to your pages to support A/B and multivariate testing tags, such as Adobe Target or Optimizely. The script is placed in the `` section of your page code and loads synchronously to comply with the most common vendor requirements. The file content is managed in iQ Tag Management.
This feature is required when using the Tealium Flicker-Free Adobe Target solution.
## Enable utag.sync.js
By default, the `utag.sync.js` file is not published when you save and publish your iQ Tag Management account/profile. It must first be enabled, saved, and applied at the profile level.
Use the following steps to enable the `utag.sync.js` script:
1. Click **Save/Publish**.
1. Click **Configuration Publish Settings**.
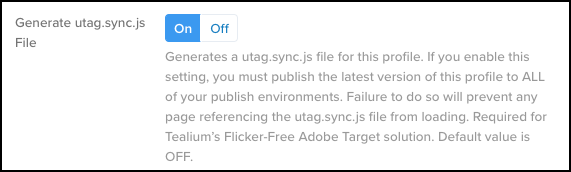
1. From the General Publishing tab, scroll down to the Implementation section and toggle the **Generate utag.sync.js File** option to **On**.
1. Click **Save**.
1. Save and Publish your changes to the environments you want.
You must publish the latest version of this profile to all of your publish environments. Failure to do so will prevent any page referencing the `utag.sync.js` file from loading.
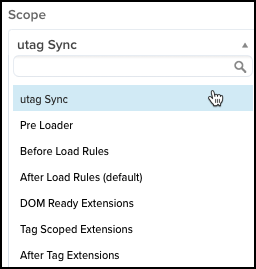
Once enabled, the utag Sync scope is visible in the Scope drop-down list for a JavaScript or Advanced JavaScript extension.
## Edit the utag.sync.js File
You can add code using one of the following two methods:
* Recommended: Use an [extension set with the utag **Sync** scope](https://docs.tealium.com/about-extensions/)
* Edit the [tag template](https://docs.tealium.com/manage-templates/).
Add, edit, or modify the content of your `utag.sync.js` file, as follows:
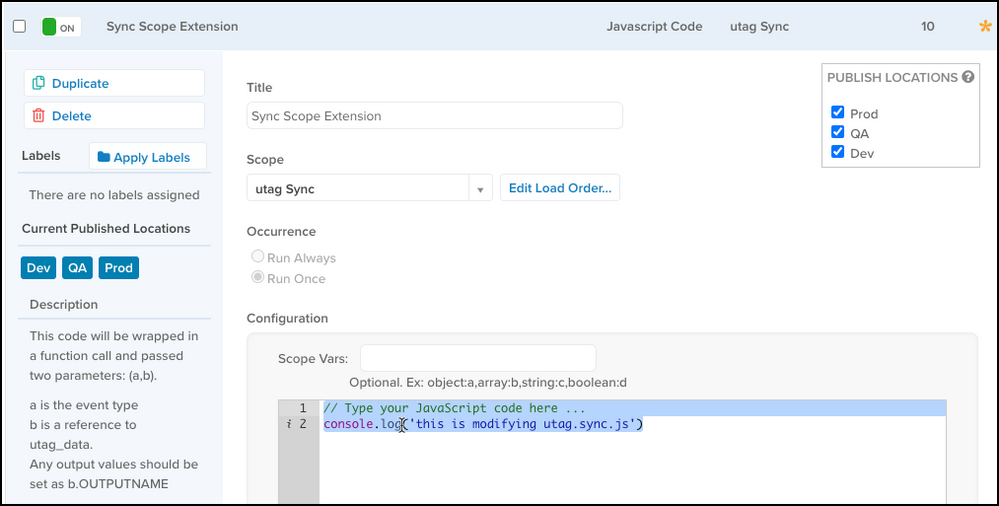
1. Navigate to the JavaScript Code or Advanced JavaScript Code extension for which you want to modify the file.
1. Click the name of the extension to expand.
1. Select **utag Sync** from the **Scope** drop-down list.
1. In the **Configuration** section, place your cursor in the edit box and add, edit, or modify content as needed.
1. Save and Publish your changes.
## Add utag.sync.js to Your Site
The `utag.sync.js` script is designed to be placed in the `` section of a page. For the best user experience as the page renders, the script should be placed in the same location that your vendor code would typically load to ensure that the vendor code loads before the content of the page.
The path to the `utag.sync.js` file contains the following parameters:
* **account**
The name of your iQ Tag Management account.
* **profile**
The name of the profile in your iQ Tag Management account. The default value is **main**.
* **environment (env)**
One or more publish environments: **Dev**, **QA**, **Prod**, or **Custom**.
Example:
```html
```
Use the following steps to retrieve your specific script from the [Manage Environments](https://docs.tealium.com/manage-environments/) screen for your account:
1. In the admin menu, click **Manage Environments**. The **Manage Environments** dialog is displayed.
1. The **Tealium Script** tab displays code that you can use to cut and paste into your file.
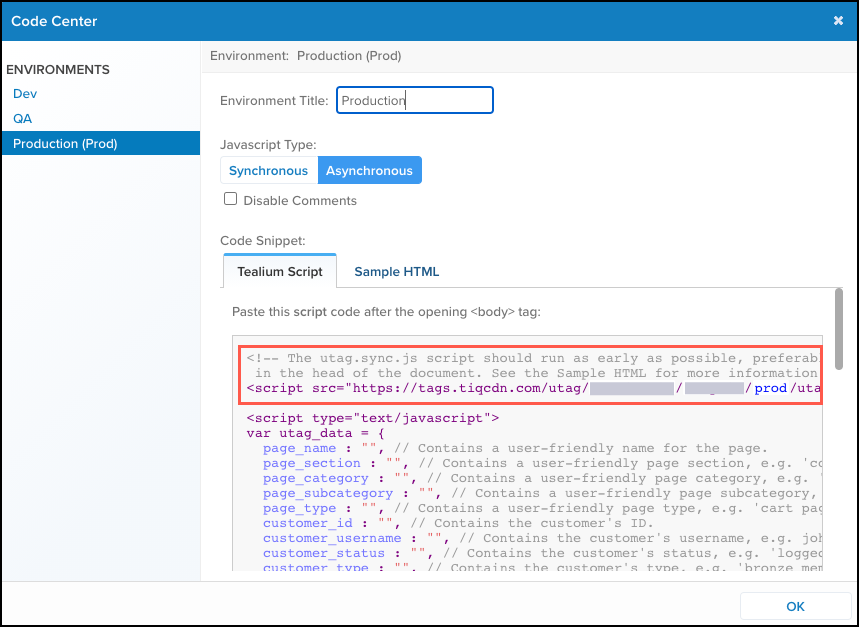
1. Click the **Sample HTML** tab to view sample HTML for the `utag.sync.js` placement.
1. Cut and paste the sample HTML for use on your page as needed.
1. Click **OK** and then click **Cancel** to close the window.
## Accessing the Universal Data Object (UDO)
The `utag.sync.js` file will likely load before the Universal Data Object (`utag_data`), therefore the code may not be able to reference those variables. Ensure that you thoroughly test any custom code that you intend to use.
## Publishing to production
Once `utag.sync.js` is enabled in the profile, all subsequent publishes to the Prod environment include this file. Advanced and Basic JavaScript extensions can be restricted from publishing to specific environments, which provides you with more control over the environments to which you deploy your sync changes.