---
title: Manage tags
description: This article explains how to manage tags.
url: https://docs.tealium.com/iq-tag-management/tags/manage/
---
## Add a tag
To add a tag:
1. Go to **Tag Management > Tags**.
1. Click **+ New Tag**.
1. Locate the tag for a vendor using one of the following methods:
If the [tag marketplace policy]() is enabled, the tag marketplace will only show the permitted tags.
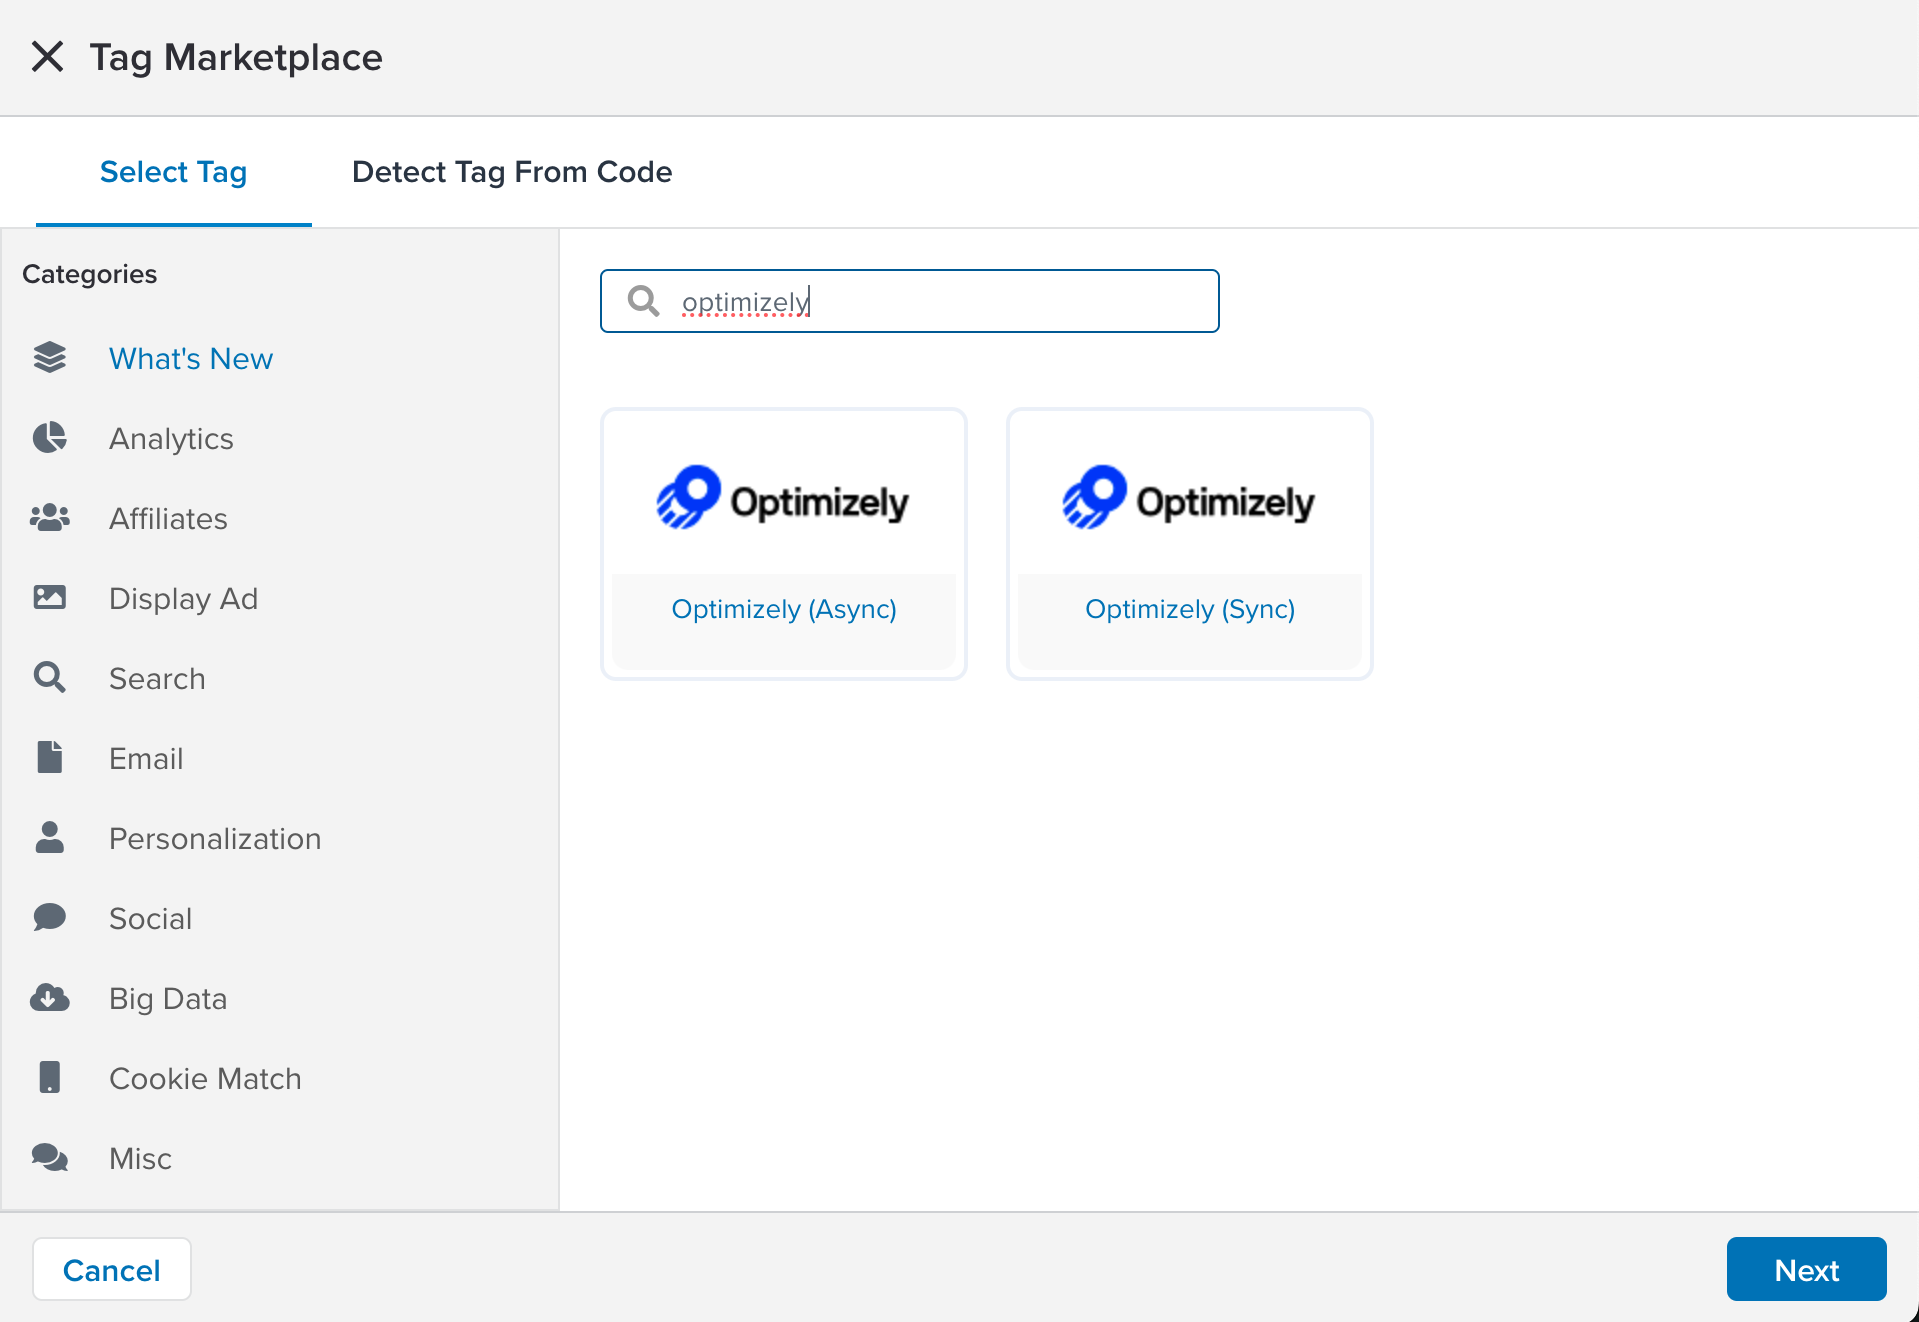
* **Search**
Enter the name of the vendor in the text box, click the tag you want to add, and click **Continue**.
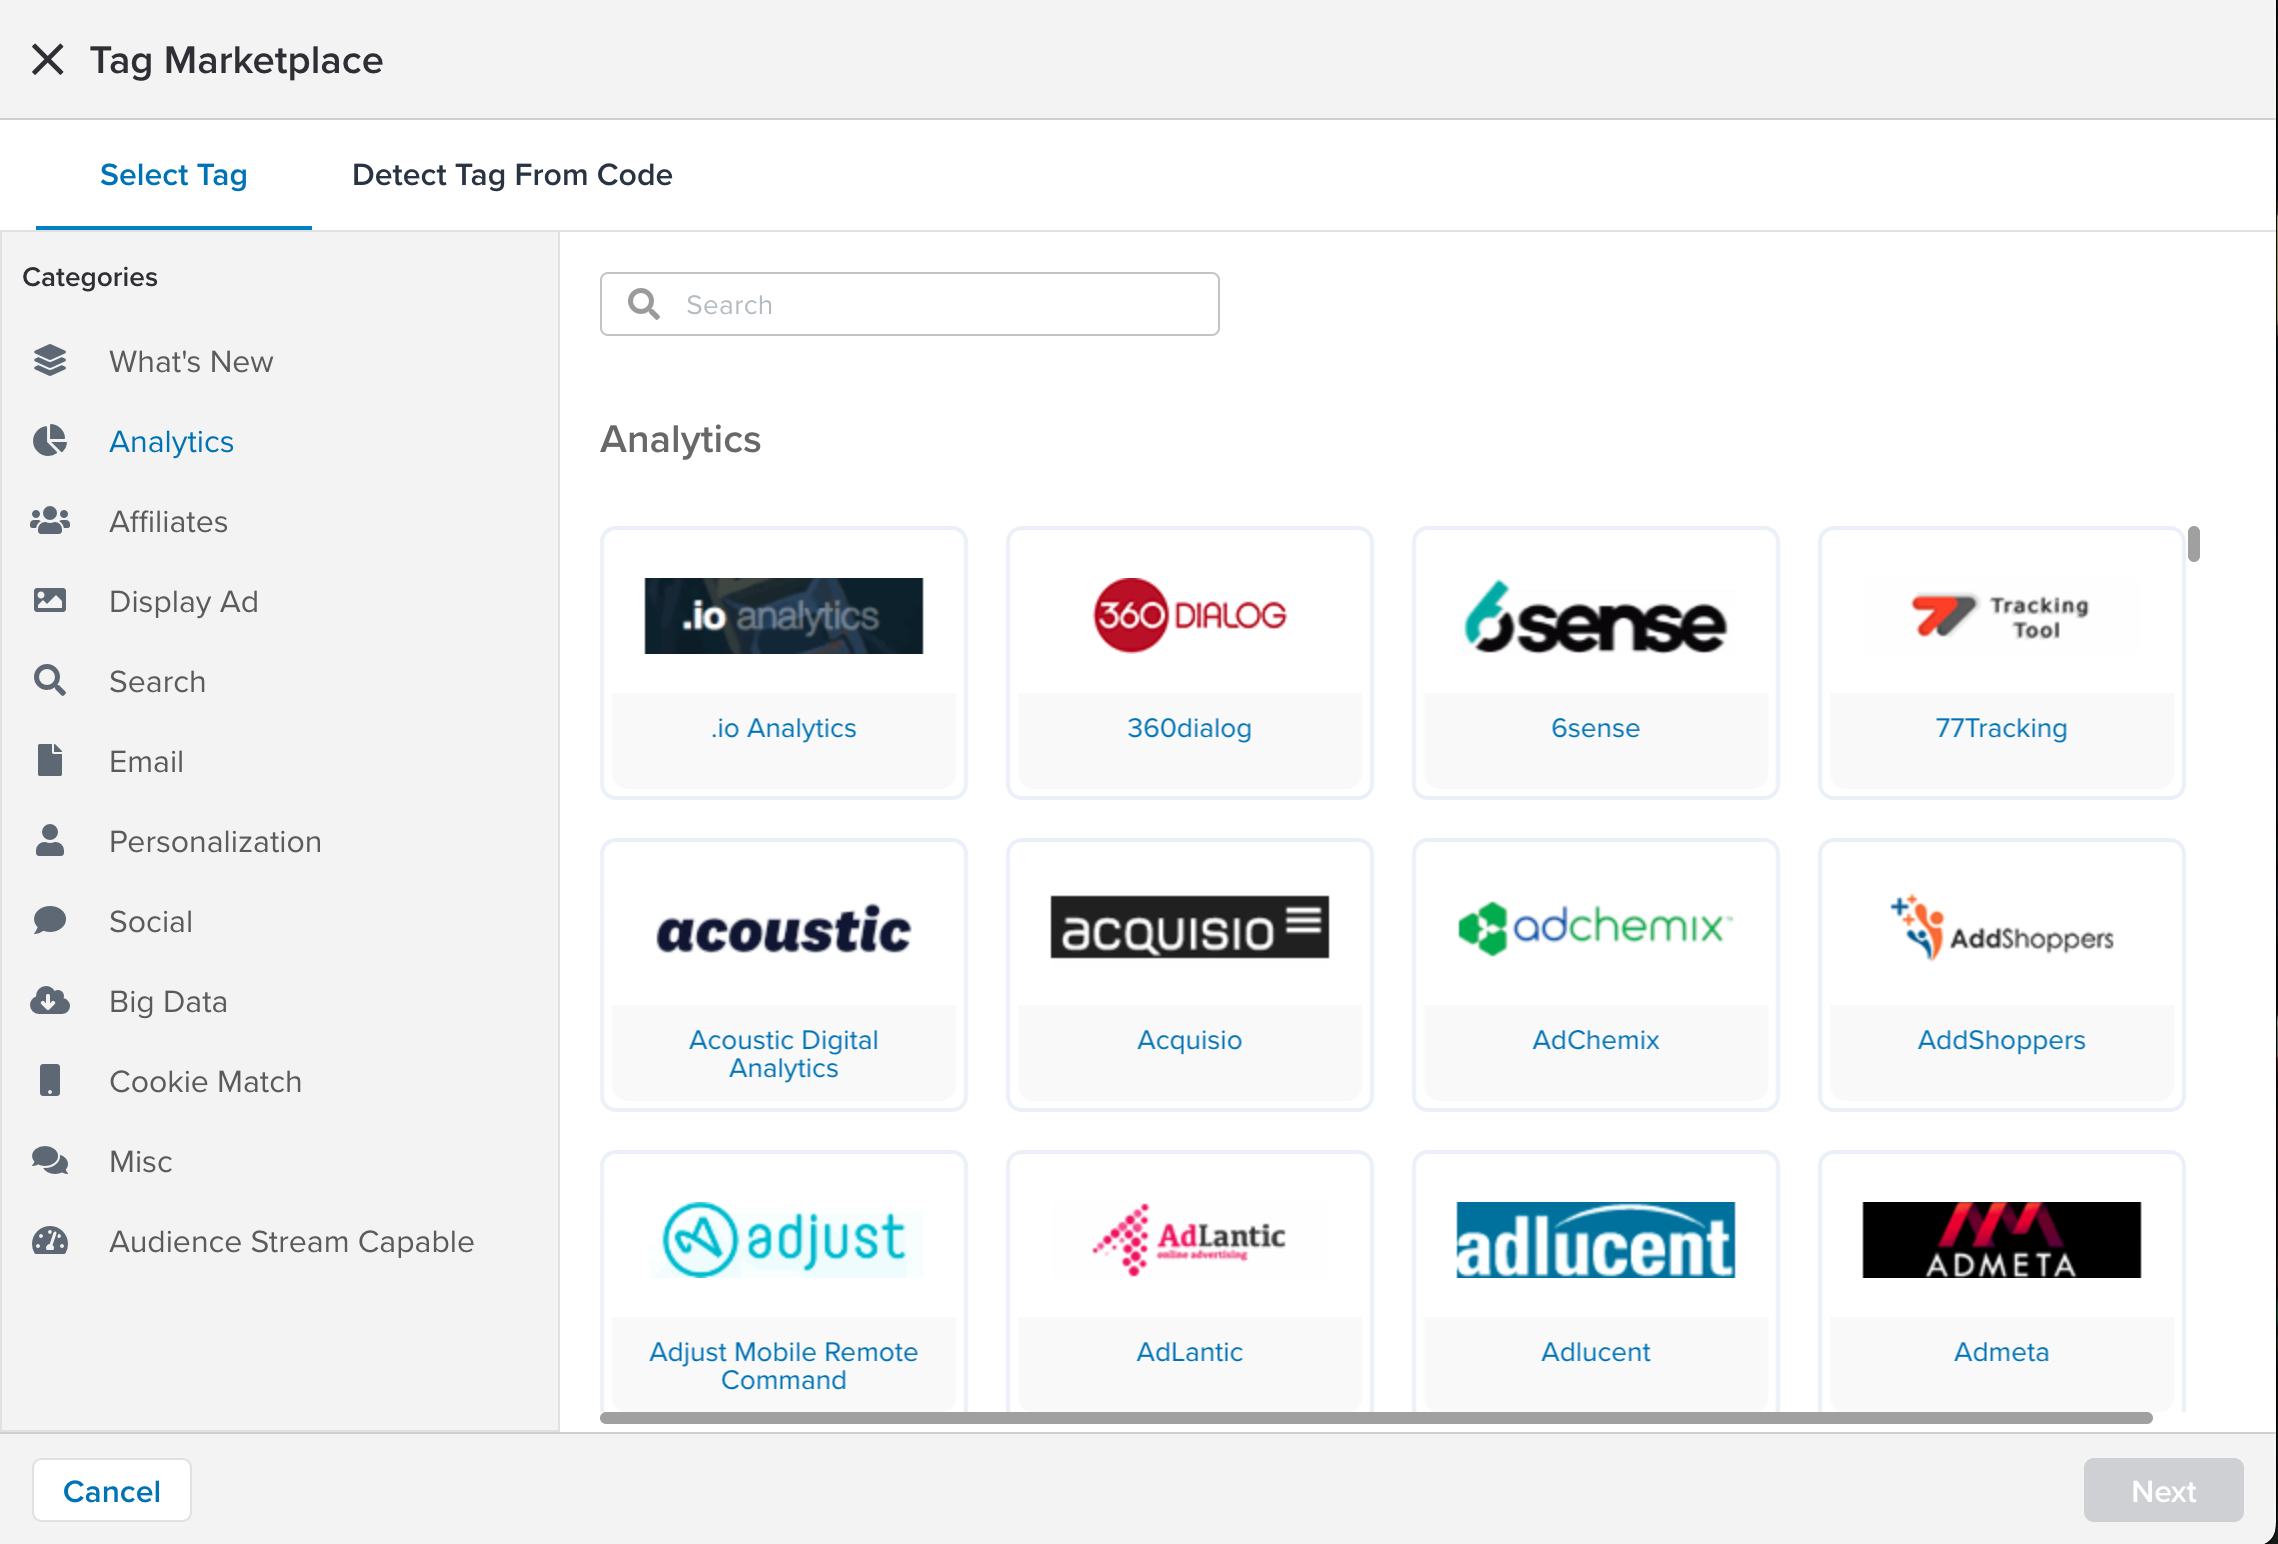
* **Categories**
In the sidebar, browse a vendor category, click the tag you want to add, and click **Continue**.
* **[Detect Tag From Code]()**
Click **Detect Tag from Code** and enter the code snippet provided by your tag vendor. If the code is recognized, the matching tag will be added with the settings automatically configured.

1. Enter a **Title** for the tag. If you have multiple instances of the same tag, use a descriptive title to distinguish it from the other instances.
1. Enter any **Notes** for the tag.
1. Enter a **Project ID** for the tag.
1. Select whether the tag publishes to **Dev**, **QA**, or **Prod** publish locations. You can also select a **Custom** publish environment. For more information, see [publish locations](#publish-locations)
1. Configure any of the **Advanced Settings**. For more information, see [Advanced Settings](https://docs.tealium.com/tag-advanced-settings/)
For accounts enabled for Tealium DataAccess, tag titles are included as column values in EventDB; characters for a Redshift database must consist of only UTF-8 printable characters; and ASCII letters are converted to lower case. For detailed information, see [Amazon Redshift - Names and Identifiers](https://docs.aws.amazon.com/redshift/latest/dg/r_names.html).
### Assign a load rule
1. Click **Next**.
1. The left side of the dialog displays the logic for when to load the tag. The right side of the dialog lists all the available rules and events. Select load rules and events and assign AND, OR, and AND NOT rule relationships between those load rules and events to determine when to load and fire the tag. You can also create new load rules and events.
* For more information on load rules, see [Load Rules]().
* For more information on events, see [Events]().
* For more information on subscribing events to tags, see [Subscribe a tag to an event](https://docs.tealium.com/subscribe-tag-to-event/).
By default, every profile starts with the default load rule named **All Pages and Events**. This rule does not contain any conditions, which means it always evaluates to `true`. A tag configured with this rule will always load.
1. Click **Next**.
### Data Mappings
In the **Data Mappings** tab, you can connect data layer variables with vendor tags. For more information about creating and editing data mappings, see [Data Mappings]().
Click **Save** to save the tag.
## Duplicate tags
Duplicating a tag is a simple process and is the best method to use to add tags in bulk.
Use the following steps to duplicate a tag:
1. Click a tag to expand the view.
1. In the sidebar, click **Duplicate**.
A copy of the tag will appear in the tags table. Click the copy and then click **Edit** to configure it as needed.
## View tag details
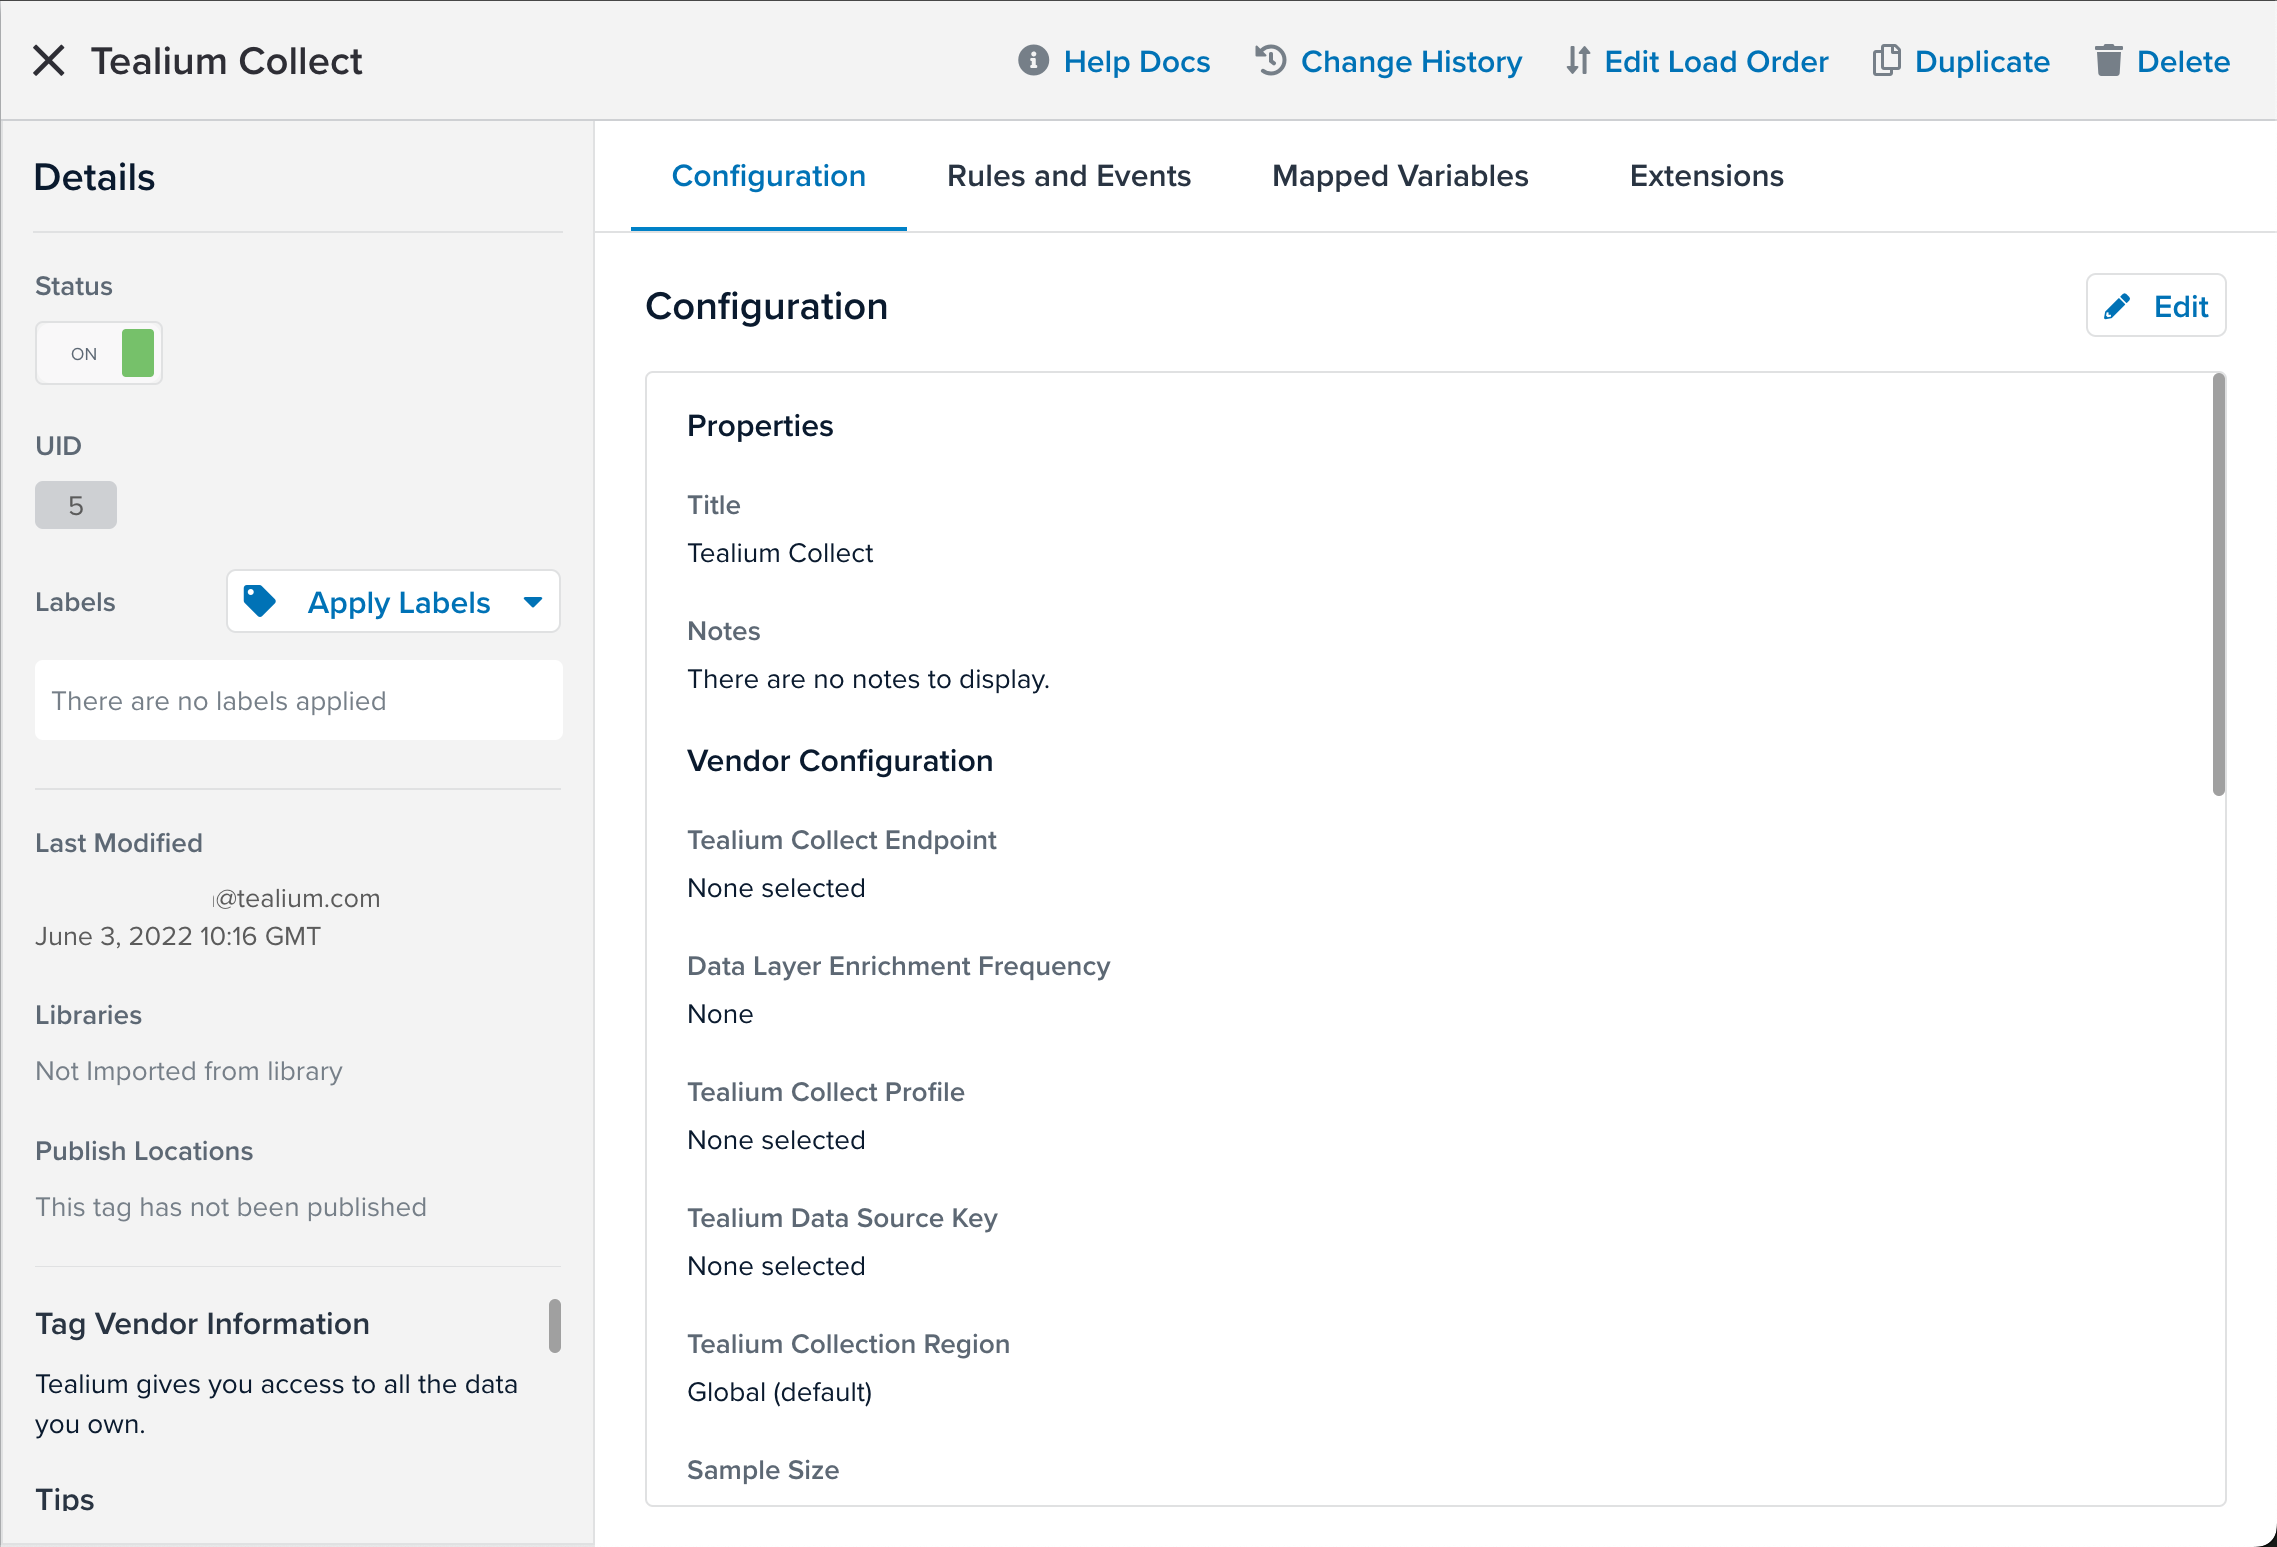
The tags table lists basic information about a tag: whether it is active, the name, the vendor, if it appears in any profile libraries, labels, where it is used, the load order, and its UID.
### Detailed view
Click any tag in the table to view the tag details:
* **Tag Vendor Information**
Displays a brief note about the tag vendor and how the tag is used.
* **Tips**
Provides useful tips and documentation to assist with tag configuration.
From this screen, you can also expand and collapse the tag history view:
## Publish locations
The following publish locations are available for every tag:
* **Dev**
The Development (Dev) environment is a non-production environment intended for sandbox configuration.
* **QA**
The Quality Assurance (QA) environment is a non-production environment intended for testing prior to releasing to production.
* **Prod**
The Production (Prod) environment is the environment you intend to load on your live website.
If you select **Off** for any publish locations, the tag will not be published to that location. For example, if you select **Off** for **Publish to Prod**, the tag will not be pushed to your live site even if you select **Prod** as a publish target from the **Save** dialog. This setting helps to prevent the accidental release of tags before they are ready.
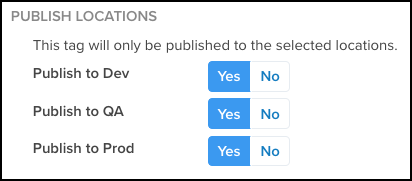
If your tags are not loading on a page where expected and you have verified the load rule logic, verify the correct settings in **Publish Location**.
## Deactivate tag
We recommend deactivating a tag to turn it off without removing it from the list of tags.
Use the following steps to turn off or deactivate a tag:
1. Set the **OFF/ON** switch to the **OFF** position.
1. Click **Save/Publish** to save the change.
This step immediately prevents the tag from loading on any of your pages.
1. To turn a tag back on, set the **OFF/ON** switch to the **ON** position.

## Edit a tag
The configuration fields required by the vendor.
* **Rules and Events**
Displays the load rule and event conditions that indicate when and where the tag will load.
* **Mapped Variables**
Displays the variables that are currently mapped to the destination variables for the tag.
* **Extensions**
Displays the extensions related to the tag. This includes extensions scoped to the tag, any extension that references a mapped variable, and other extensions such as the Privacy Manager or Tracking Opt-Out.
* **Notes**
Provides space for additional notes about the tag configuration.
* **Uses** and **UID**
* The **Uses** column displays the number of data mappings, linked events, and load rules. 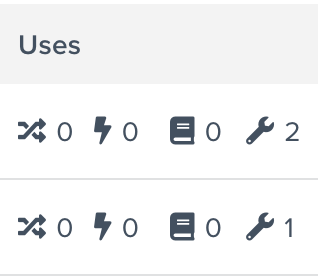
* The **UID** column displays the unique identifier for the tag.
The UID determines the name of the file served from the CDN. For example, a tag with a UID of `1878` corresponds to the file `utag.1878.js`.
To edit a tag:
1. Go to **Tag Management > Tags**.
1. Click a tag to view its details.
1. Click the **Edit** button for the section you want to edit.
The **Tag Configuration**, **Load Rules**, **Mapped Variables**, and **Extensions** sections each have an edit button that lets you focus on editing that area.
## Delete a tag
Use the following steps to delete a tag:
1. Click a tag to expand the view.
1. Click **Delete**.
1. Click **Delete**.
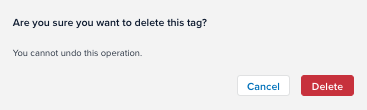
After you edit, delete, or deactivate a tag, the **Save/Publish** button changes to an orange color to indicate that you have unsaved changes in the profile.
1. Click **Save/Publish** to save the change.
## Update tags
Use the [Template Status Checker](https://docs.tealium.com/template-status-checker/) to see when a new version of a tag is available. You can update a tag by accessing the tag template. For more information, see [About tag templates](https://docs.tealium.com/about-templates/).
## View tag history
Use the following steps to view the history of a tag:
1. Click **Change History** in the top bar of the expanded tag.
An expanded view of the history for the tag appears and lists the user that made the change, what the change was, and when the change was made.
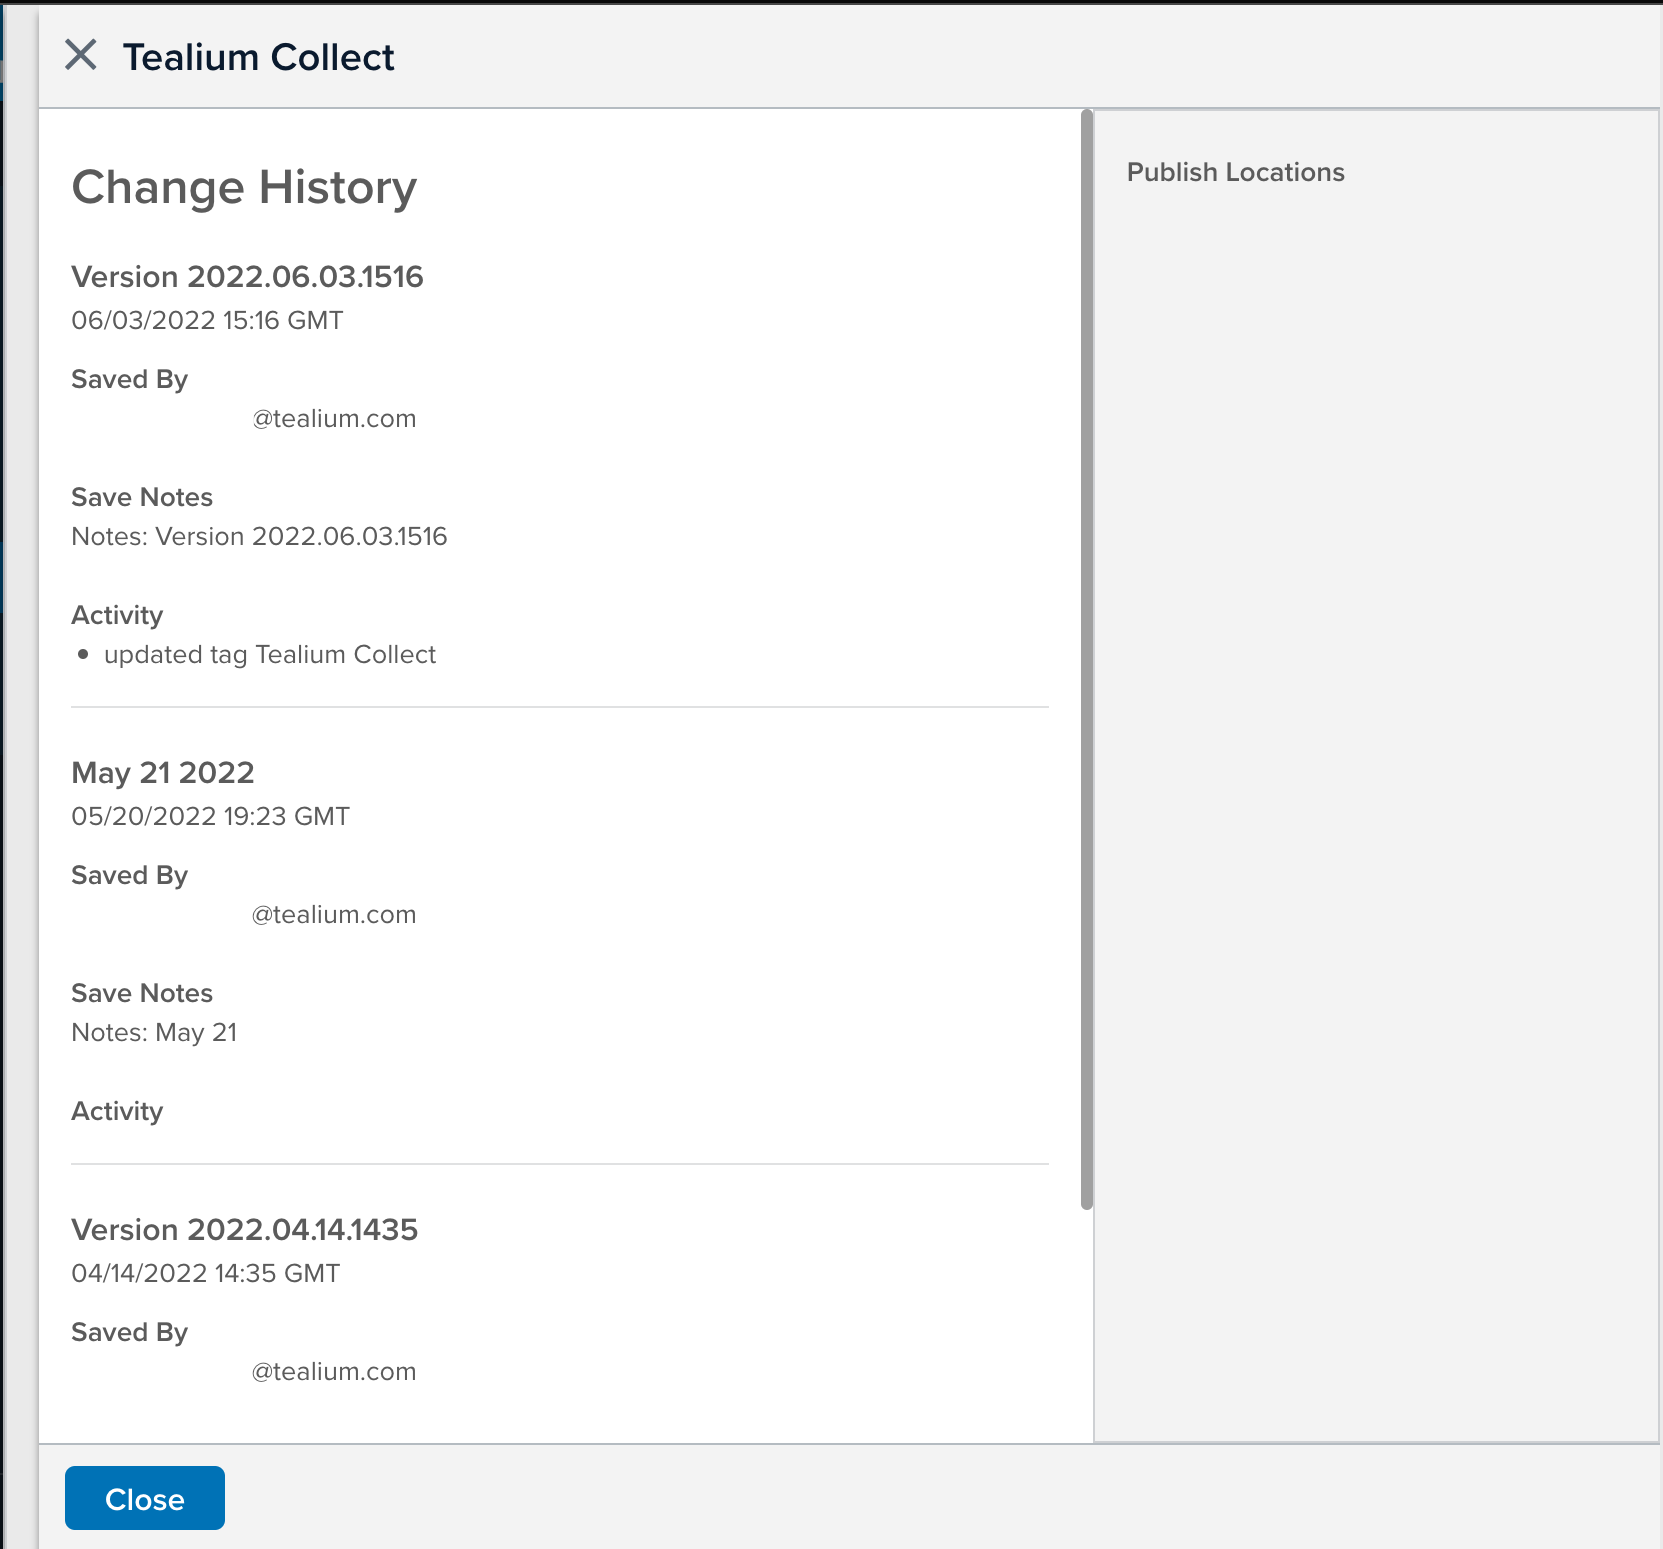
1. Click **Hide** to collapse the detailed view.
If you want to view the history of the load rules, events, or extensions of a tag, go to the item details page and click **Change History**. For more information, see [Version history](https://docs.tealium.com/client-side-versions/#view-tag-and-tag-item-history).
## Load order
Tags are loaded in the same order as they appear in your configuration, with the exception of [bundled tags](#toc-hId--306241495).
To change the load order of tags, use the [Load Order Manager](https://docs.tealium.com/load-order-manager/).