---
title: Manage Audience Discovery
description: This article explains how to add, edit, delete, and view audience filters in Audience Discovery.
url: https://docs.tealium.com/server-side/audiences/audience-discovery/manage/
---
To manage Audience Discovery filters, navigate to **Activate > Discover**.
## Add an audience filter
Use the following steps to add a new audience filter:
1. Click **+** to the left of the **Audiences** drop-down list.
1. Enter the conditions for your filter.
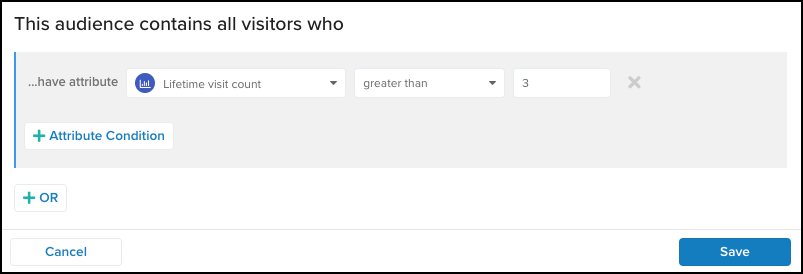
* Under **Conditions**, select a value from the drop-down list.
In this example, the filter is configured with the following conditions: **Lifetime Visit Count** is **greater than** a **Custom Value** of **3**.
* (Optional) Add additional **AND** or **OR** conditions using the drop-down lists provided.
1. Click **Save**.
1. Click the **Audiences** drop-down list and click the **Save** tab.
1. In the **As a new audience** field, enter a descriptive name for your audience.
The name must not exceed 127 characters and must contain only ASCII characters (codes 0-127).
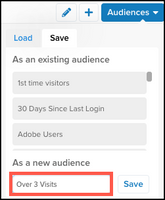
1. Click **Save**.
1. Save and publish.
## Edit an audience filter
Use the following steps to view your audiences filters and edit the settings to meet your needs:
1. From the **Audiences** drop-down list, click the **Load** tab.
1. Select an audience to view.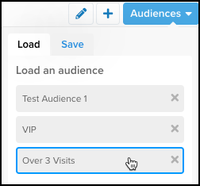
1. Click the pencil icon to edit the audience filters.
1. Edit the filter criteria to meet your needs.
1. Click **Save**.
1. Save and publish.
## Delete an audience filter
Use the following steps to delete an audience filter:
1. From the **Audiences** drop-down list, click the **Load** tab.
1. Scroll down to select the audience to delete and click the adjacent **X**.
1. From the **Delete Audience** dialog, click **Yes**.
1. Save and publish.
## View and adjust audience filters
The unique views and actionable interface in Audience Discovery allow you to analyze your audience in real-time, using your attributes as a guide. This section describes how to view the ways in which your audiences are currently segmented and make any needed adjustments.
Use the following steps to view and adjust audience filters:
1. From the **Audiences** drop-down list, click the **Load** tab.
1. Select an audience to view.
1. Toggle between the **Historic** and **Live** views to gain insight about current visitors and visit behavior or behavior over a period of time.
* **Historic**
The default view.
Displays a drop-down calendar in the **To** and **From** fields that lets you select a date range.
* **Live**
Displays current activity.
You can optionally drill-down into sections of the bars in the chart for a more granular view.
1. (Optional) Click a bar in the chart for a more granular view.
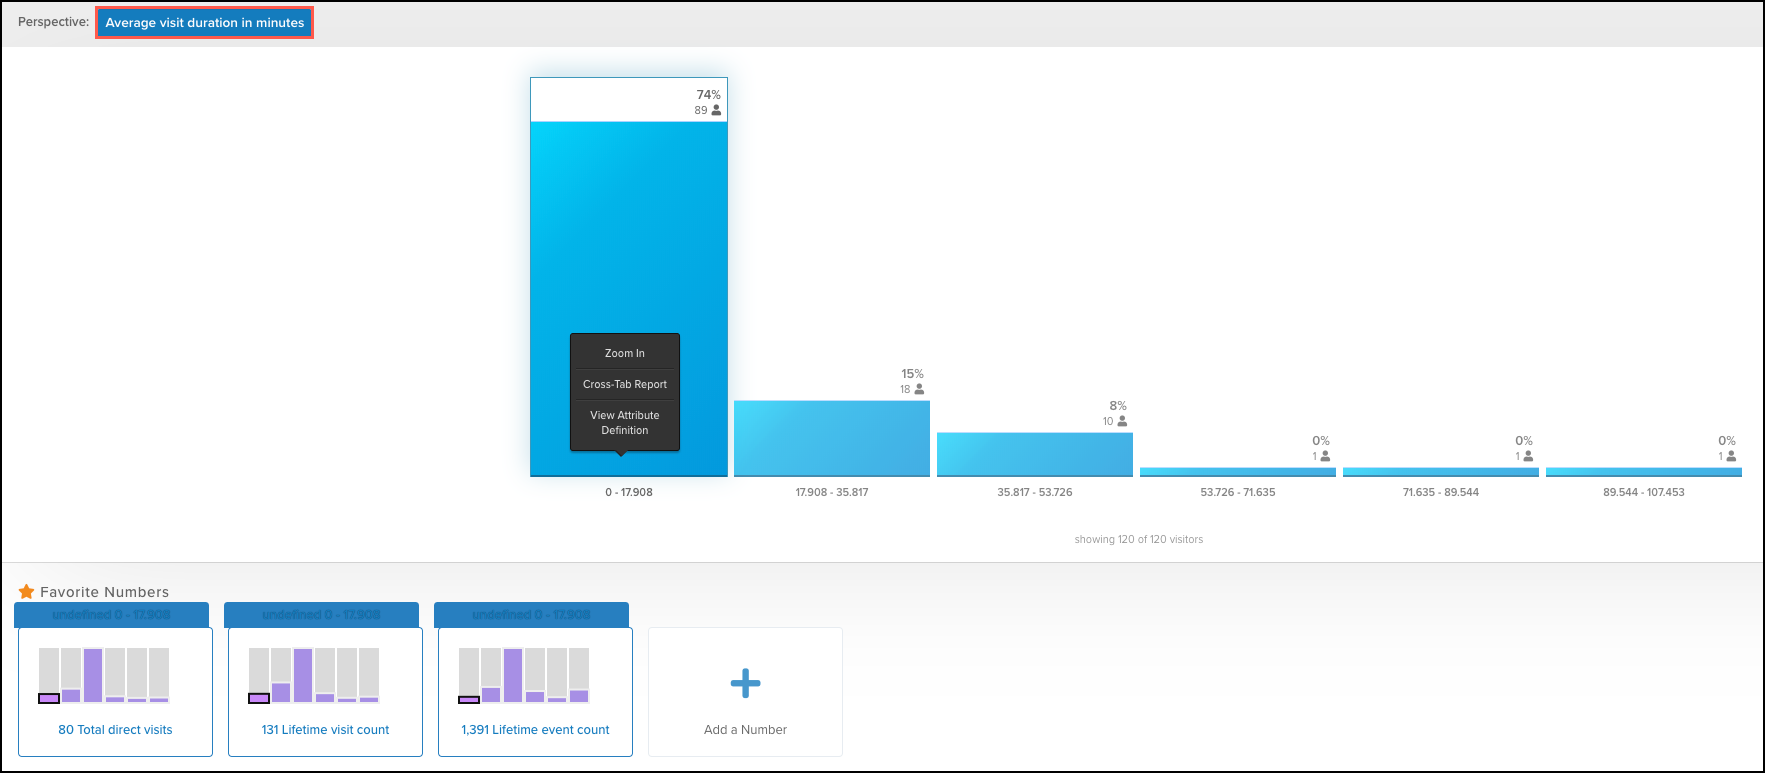
* **Zoom In**
The default is the **Badges** perspective. From this perspective, you can filter by `String`, `Number`, `Boolean`, `Badge`, `Funnel`, or `Date`. After the display refreshes for a bar or column, clicking **Zoom In** uses a back-end algorithm to select the best possible subsection of the original perspective. You can continue to drill-down into the details of each bar in the display until the results are exhausted.
* **Cross-Tab Reports**
When selecting a report to display, the perspective is updated and the column display is refreshed. When you click to zoom in on one column out of a multiple column report, both the perspective and the filter are updated. A maximum of 10 cross-tab reports are allowed. Cross-tab reports use the same filtered options as used in **Perspective**.
You can optionally click the **Attributes Definition** tab or **Zoom In** button to change your view without having to navigate back to the previous screen.
* **View Attribute Definition**
From this view, you can see the definition of the attribute used to filter the results. You can optionally double-click the attribute to edit the current definition and add additional conditions without the need to navigate back to the primary interface.
This perspective does not include Tally, Timeline, Visitor ID, or Set of Strings.
From the **Attribute Definition** tab, you can assign badges and select operators and fields from which to extract data. For example, you can use an aggregate of purchase data to create a visitor lifetime value, or view the number of times a visitor has searched across multiple sessions. Attribute definitions are dynamically created by selecting a perspective or zooming in to view a specific audience.
You can optionally click the **Cross-Tab Reports** tab or **Zoom In** button to change your view without having to navigate back to the previous screen.
1. Apply changes or additional conditions and then click **Apply** to save.
1. Save and publish.
## View data from different perspectives
After you have created audiences, with or without favorite numbers, you can choose from a variety of perspectives from which to view your audience data. Viewing your data from different perspectives provides insights into audience behavior to help you pinpoint target audiences.
Complete the following steps to choose a perspective from which to view your audience data:
1. To display a list of available perspectives from which to view your audience data, click the default value **Badges** next to **Perspectives**.
1. Use the **Search** field to search for a specific perspective, or filter the available perspective by Visit or Visitor scope. 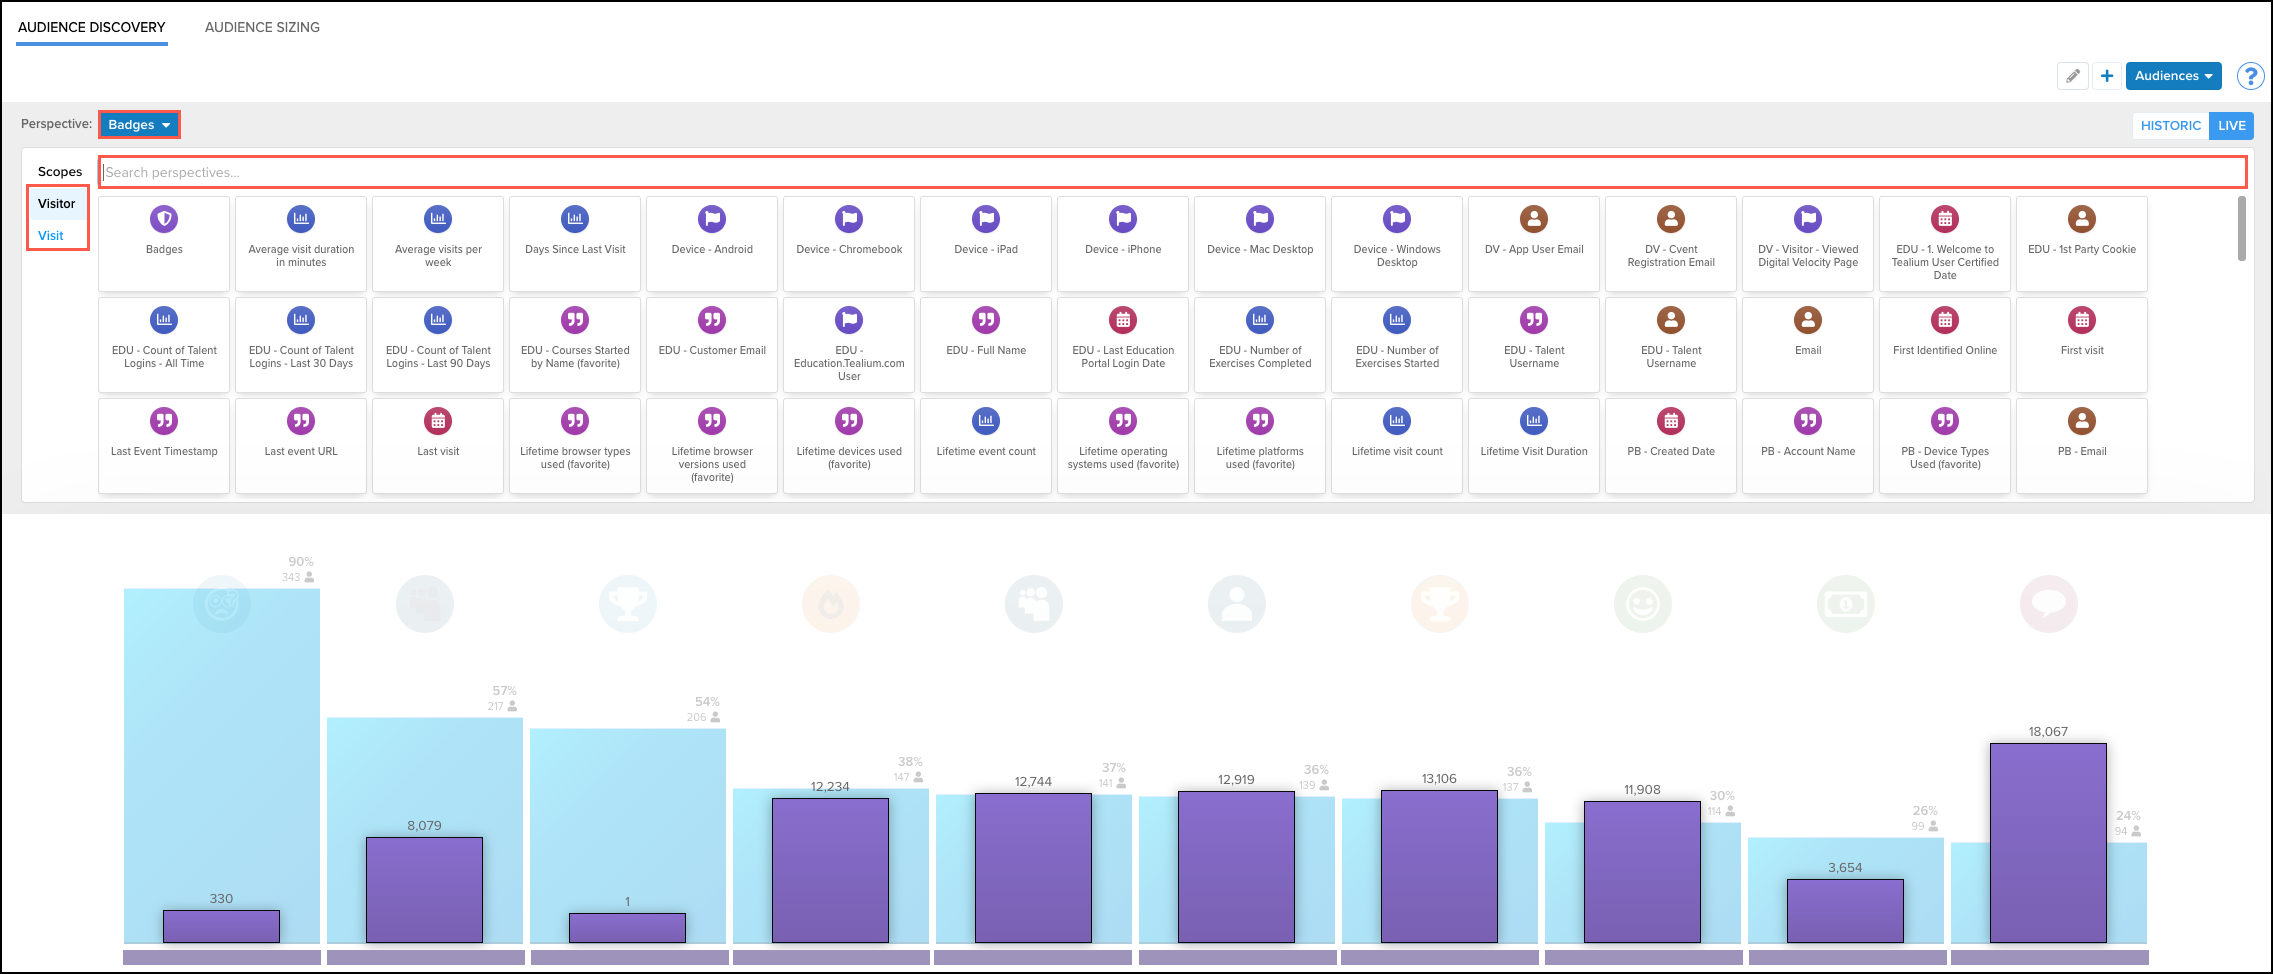
1. Click an available perspective to select it.
In the following example, **Average visit duration in minutes** (the default value) is selected as a perspective from which to view the currently displayed audience data.
1. View your data from a variety of perspectives to analyze the data and refine your audiences to best fit your needs.