---
title: Connect to Tealium Configuration MCP
description: Configure Tealium Configuration MCP for your organization and connect an AI client to a server-side profile.
url: https://docs.tealium.com/server-side/config-mcp/connect-config-mcp/
---
Tealium Configuration MCP is only available to select customers. If you are interested in trying this feature, [contact support](https://docs.tealium.com/support/).
Setting up Tealium Configuration MCP involves steps for both admins and end users. Complete the steps in order.
## Before you begin
Confirm the following before starting setup:
* Your account uses Tealium Platform Permissions. Legacy permissions are not supported.
* You have a Claude Pro, Max, Team, or Enterprise plan. Free plans cannot add custom connectors.
* End users have Claude Desktop installed, or access to [claude.ai](https://claude.ai).
* Tealium Configuration MCP is enabled for your account. To request access, [contact support](https://docs.tealium.com/support/).
## Step 1: Add the Tealium connector in Claude (admin)
Add the Tealium Configuration MCP custom connector to your Claude organization so users can connect to their Tealium profiles.
1. Sign in to [claude.ai](https://claude.ai) as an admin.
1. Click your profile icon and select **Settings**.
1. Select **Connectors**.
1. Scroll to the bottom of the page and click **Add custom connector**.
1. If a warning appears about connecting to trusted services, review and confirm to continue.
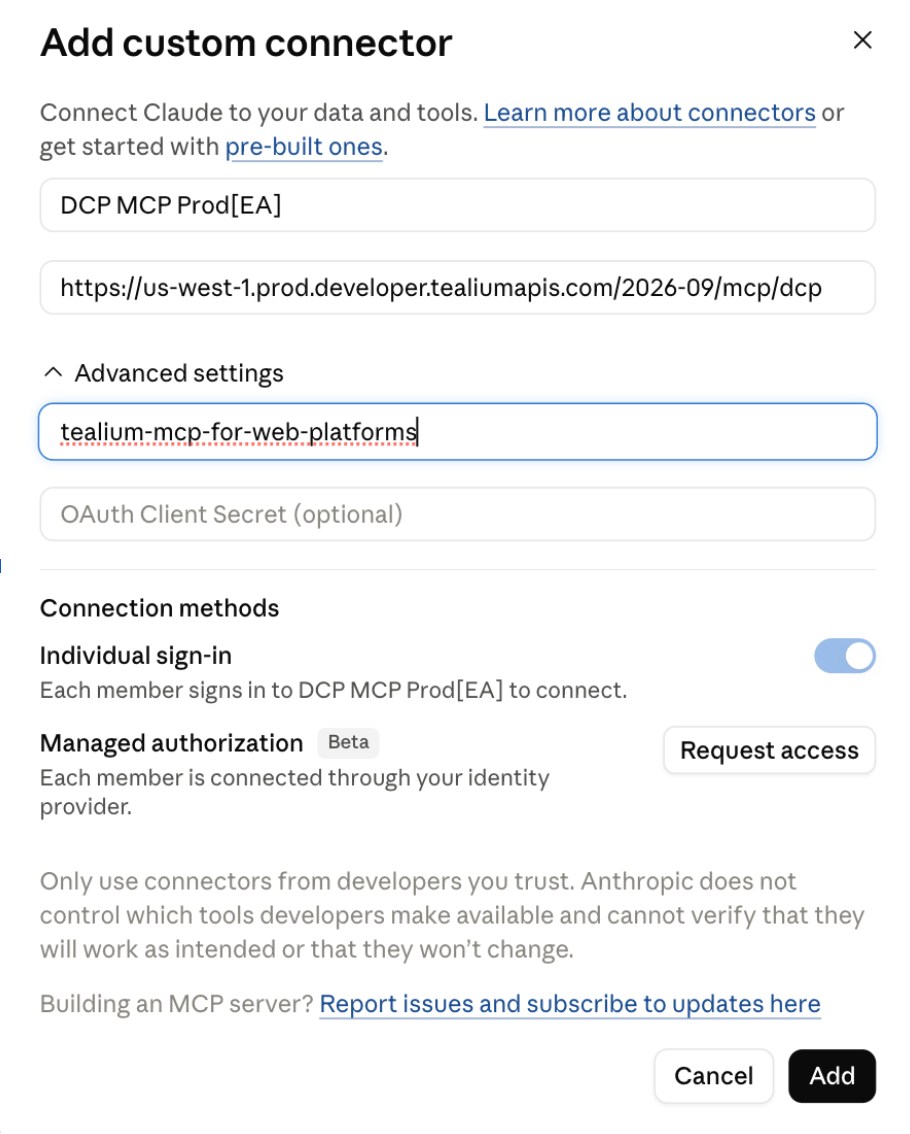
1. Enter the following connector details:
* **Name:** `Tealium Configuration MCP`
* **Remote MCP server URL:** `https://us-west-1.prod.developer.tealiumapis.com/2026-09/mcp/dcp`
1. Expand **Advanced settings** and enter the following:
* **OAuth Client ID:** `tealium-mcp-for-web-platforms`
1. Leave the **OAuth Client Secret** field blank.
1. Click **Add**. The connector appears in your Connectors list.
## Step 2: Enable MCP in Tealium AI Settings (admin)
Enable Tealium Configuration MCP at both the account level and the profile level in the Tealium UI.
1. In Tealium, click your initials in the upper-right corner and click **AI Settings**.
1. Set the **MCP Server** toggle to **On** for the account.
1. Switch to each profile where you want to enable MCP and repeat: set the **MCP Server** toggle to **On** at the profile level.
You can disable MCP for a specific profile at any time by returning to AI Settings and setting the toggle to **Off**.

## Step 3: Create a user group with MCP access (admin)
Grant users permission to connect to Tealium profiles through MCP by creating a user group with the appropriate access level.
1. In Tealium, go to **Manage Permissions**.
1. Click **+New Group**.
1. Enter a name for the group and click **Next**.
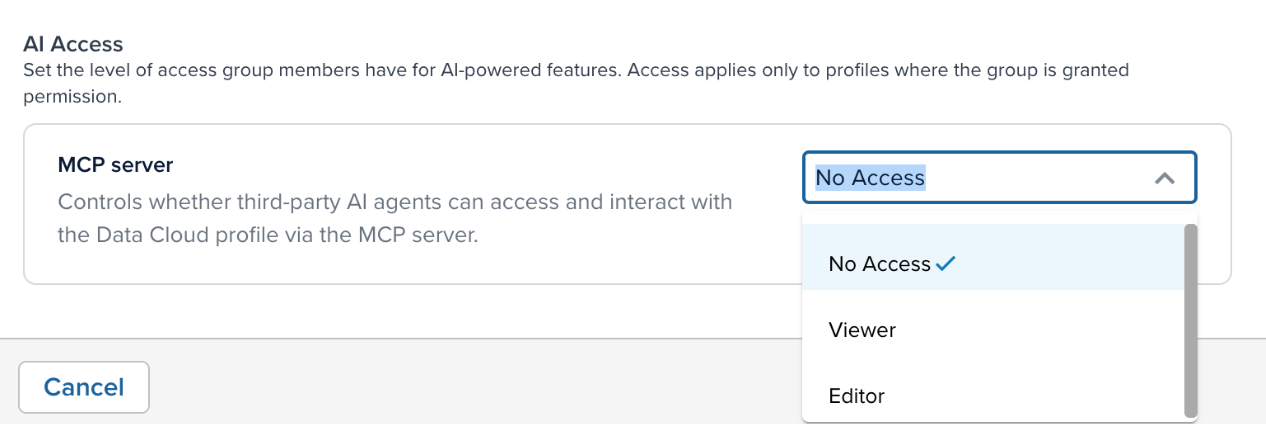
1. Under **AI Access**, locate **MCP Server** and select one of the following access levels. Click **Next** when you are done.
* **Viewer:** Read-only. The MCP server can explore and explain the profile but cannot create, modify, or delete entities.
* **Editor:** Read and write. The MCP server can explore, create, modify, and delete supported entities.
1. There are no additional feature permissions for the MCP server. Click **Next** to skip this step.
1. Add the profiles that need MCP access to the group and click **Next**.
1. Add the users who need MCP access to the group and click **Save**.
You can create separate groups for view and edit access to serve users with different needs.
Individual product component permissions may be adjusted to match the minimum permissions required for MCP access.
## Step 4: Select a profile in user preferences (user)
Each user selects the default Tealium profile for MCP to use.
1. In the Tealium UI, click your initials in the upper-right corner and select **Edit/View User Settings**.
1. Under **Tealium Configuration MCP**, select the **Account** and **Profile** to use as the default.
1. Click **Apply Configuration**.
To connect to a different profile later, return to this screen, select the new profile, and click **Apply Configuration**. Changing the profile invalidates the current MCP session. After switching profiles, reconnect the Tealium Configuration MCP connector and start a new chat.
## Step 5: Connect Claude to Tealium (user)
Authenticate the Tealium connector in Claude and enable it in a chat.
**Connect the connector**
1. In Claude, go to **Settings > Connectors**.
1. Click **Connect** next to **Tealium Configuration MCP**.
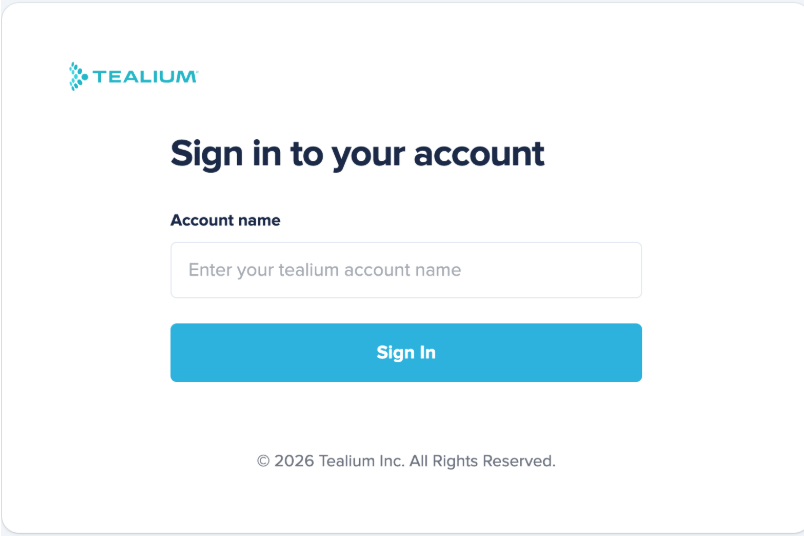
1. A Tealium sign-in window opens. Enter your account name and click **Sign In**.
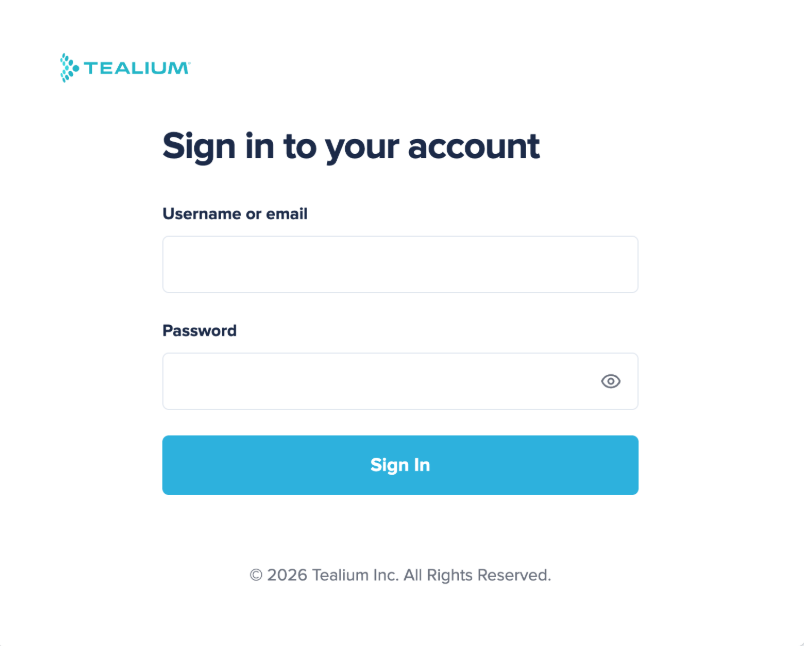
1. Sign in with your Tealium credentials:
* **Without SSO:** Enter your username or email and password and click **Sign In**.
* **With SSO:** Your identity provider redirects you to sign in. Enter your SSO credentials.
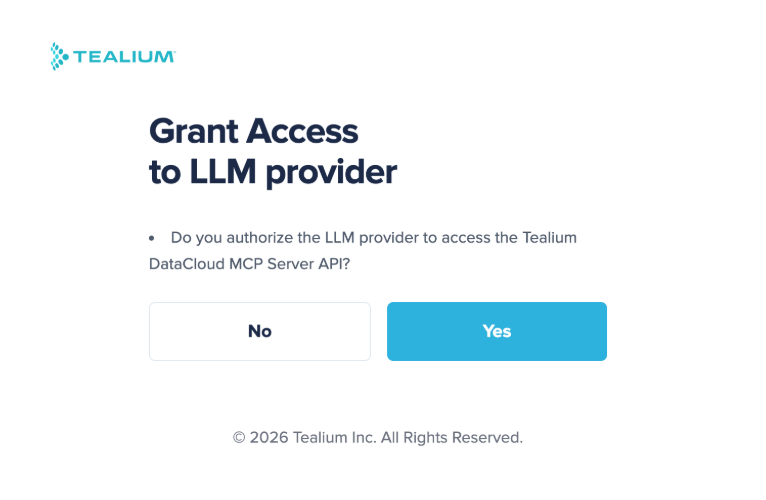
1. When prompted, select **Yes** to grant the AI client access to your Tealium profile.
1. After the window closes, the connector status shows as connected.
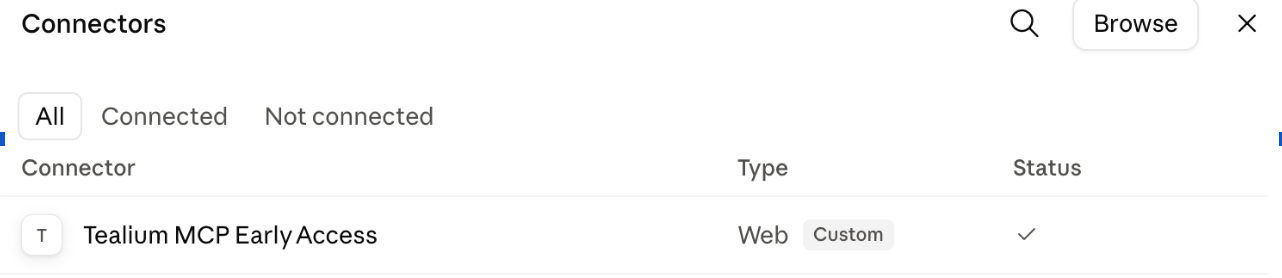
To disconnect the connector at any time, go to **Settings > Connectors** in Claude, locate **Tealium Configuration MCP**, and select **Disconnect**.
**Enable the connector in a chat**
1. Open a new chat in Claude.
1. Click the **+** icon in the message composer.
1. Toggle **Tealium Configuration MCP** on.
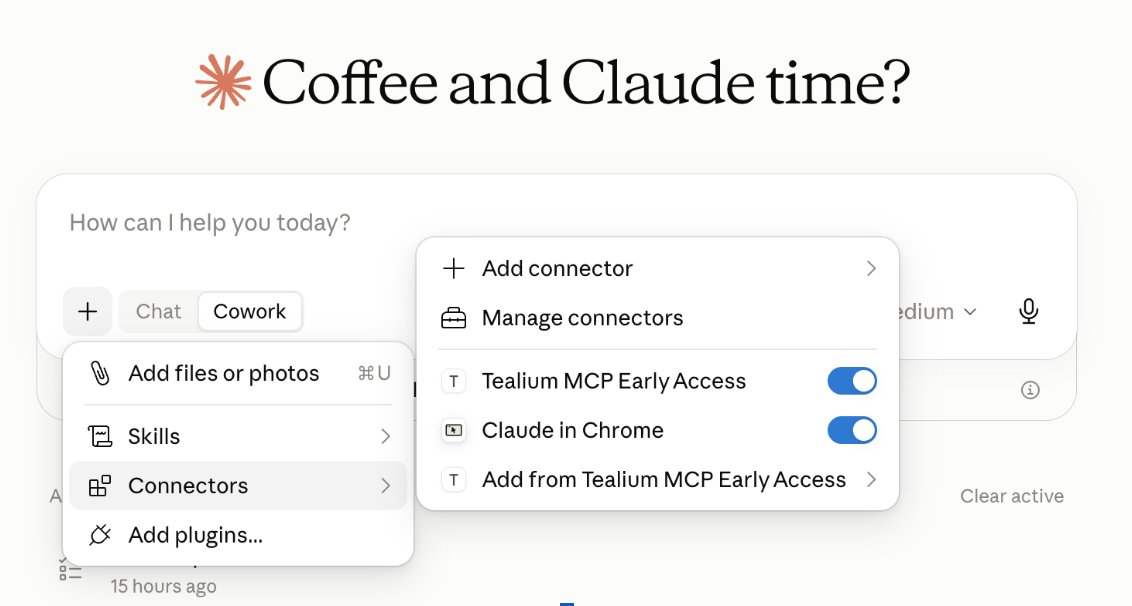
The connector is now active for the conversation. For more information on running a session, see [Manage Tealium Configuration MCP](https://docs.tealium.com/manage-config-mcp/).