Live Events
Use Live Events to manage and inspect incoming events in real-time. You’ll use this to verify that the test events from your data source are received.
Using Live Events
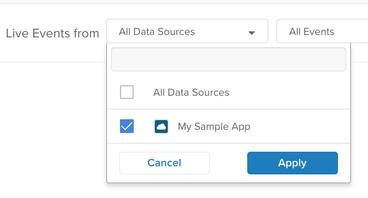
To begin, go to EventStream > Live Events, select your new data source from the All Data Sources list, and click Apply.

The chart is now waiting for events to arrive from that data source.
Next, return to your site or app to trigger the test event. If you are using the HTTP API, you can simply paste the test event URL into a new browser window. If your installation is working, the test event will arrive on the screen as a blue bar in the chart.
Event details
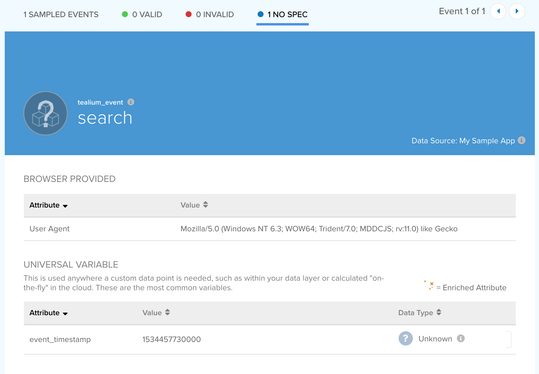
Click the bar to see the event details. Notice that the event name (search) and the data source (My Sample App) are displayed prominently in the top header section. Below the event name is a list of all the data attributes contained in the event, some of which are set automatically for every event.

Try experimenting with different event names and adding additional parameters to the event.
If your events aren’t coming through, check the following:
- Did you save and publish after adding the data source?
- Does the data source key in your installation code match the one provided in the interface?
- Is your account name and profile name set correctly in the install code?
Great, now that you have verified that your data source is working and EventStream is receiving data, it’s time to look at event specifications.
This page was last updated: April 11, 2024